
6 Low-Budget Tiny House Designs That Actually Save Money
Jeff Barfield | 12/23/2025
Building a tiny house on a budget is not really about finding the cheapest flooring, buying used appliances or waiting for a sale on lumber. Those things can certainly help, but some of the biggest opportunities to control the cost of a tiny home happen much earlier, while the house is still a floor plan.
The shape of the building determines how much exterior wall needs to be framed and finished. The position of the kitchen and bathroom determines how far plumbing has to travel. The number of rooms influences how many walls, doors and finished surfaces are required. Window placement, roof geometry, heating equipment and even the dimensions of the floor plan can all add or remove cost before a builder has purchased a single material.
That is the idea behind the six designs below. Each one uses a different design strategy to simplify construction, reduce the amount of building required or make better use of the space being built. They are conceptual examples rather than construction drawings or permit-ready plans, and the dimensions can be adjusted to suit a particular project.
Local requirements still matter. Tiny homes generally remain subject to building, electrical, plumbing, structural and zoning requirements despite their size. In Ontario, for example, tiny homes must meet the Building Code and the same Electrical Safety Code requirements that apply to conventional houses. Requirements elsewhere will differ, so any actual design should be checked against the rules where it will be built. [1]
Six budget tiny-home designs at a glance
Design | Concept size | Primary cost-saving idea | Best suited to |
|---|---|---|---|
Simple lofted rectangle | 8 × 24 ft | Simple shell and vertical sleeping space | THOW or compact fixed home |
Single-level studio | 12 × 20 ft | Few partitions, no stairs or loft | Fixed foundation or prefab |
Compact square cabin | 16 × 16 ft | Less exterior perimeter per square foot | Fixed foundation |
Shared-service-core home | 12 × 24 ft | Concentrated plumbing and mechanical systems | Fixed or mobile |
Transformer studio | 12 × 24 ft | Make one room perform several functions | Fixed or mobile |
Expandable starter home | 12 × 16 ft initially | Reduce the first-stage build while planning for growth | Fixed foundation |
The important distinction is that there is no universally cheapest design. Each approach removes cost in a different way, and each introduces compromises that need to be understood before deciding whether it makes sense for a particular project.
On this page
1. The simple 8 × 24-foot lofted rectangle
How the layout works
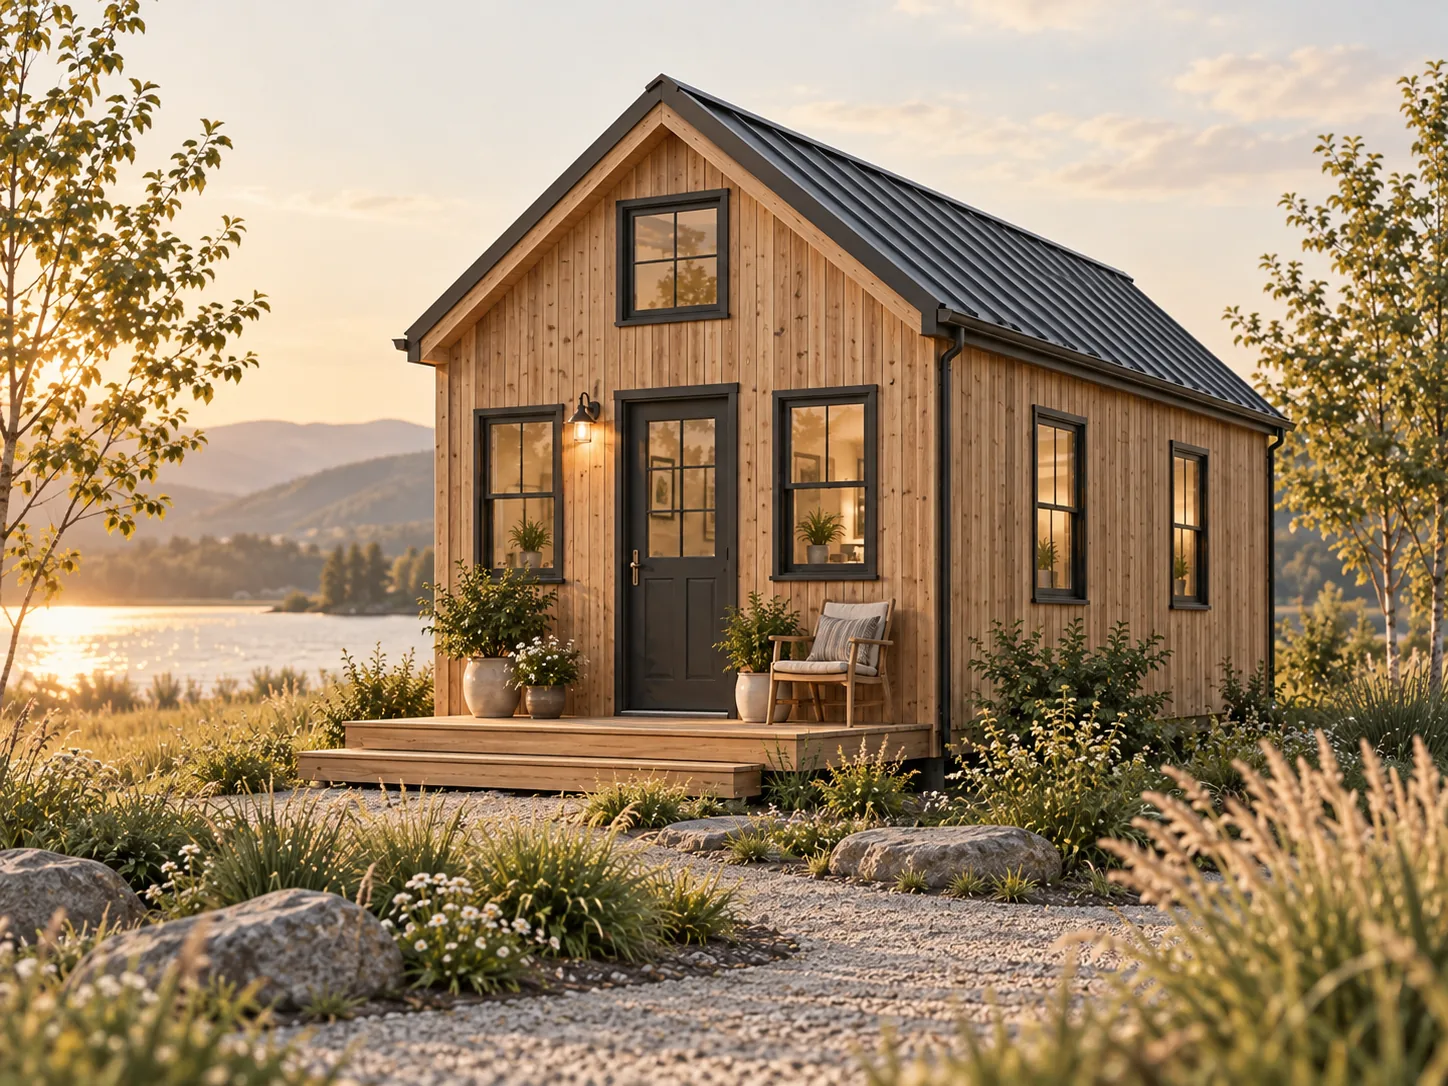
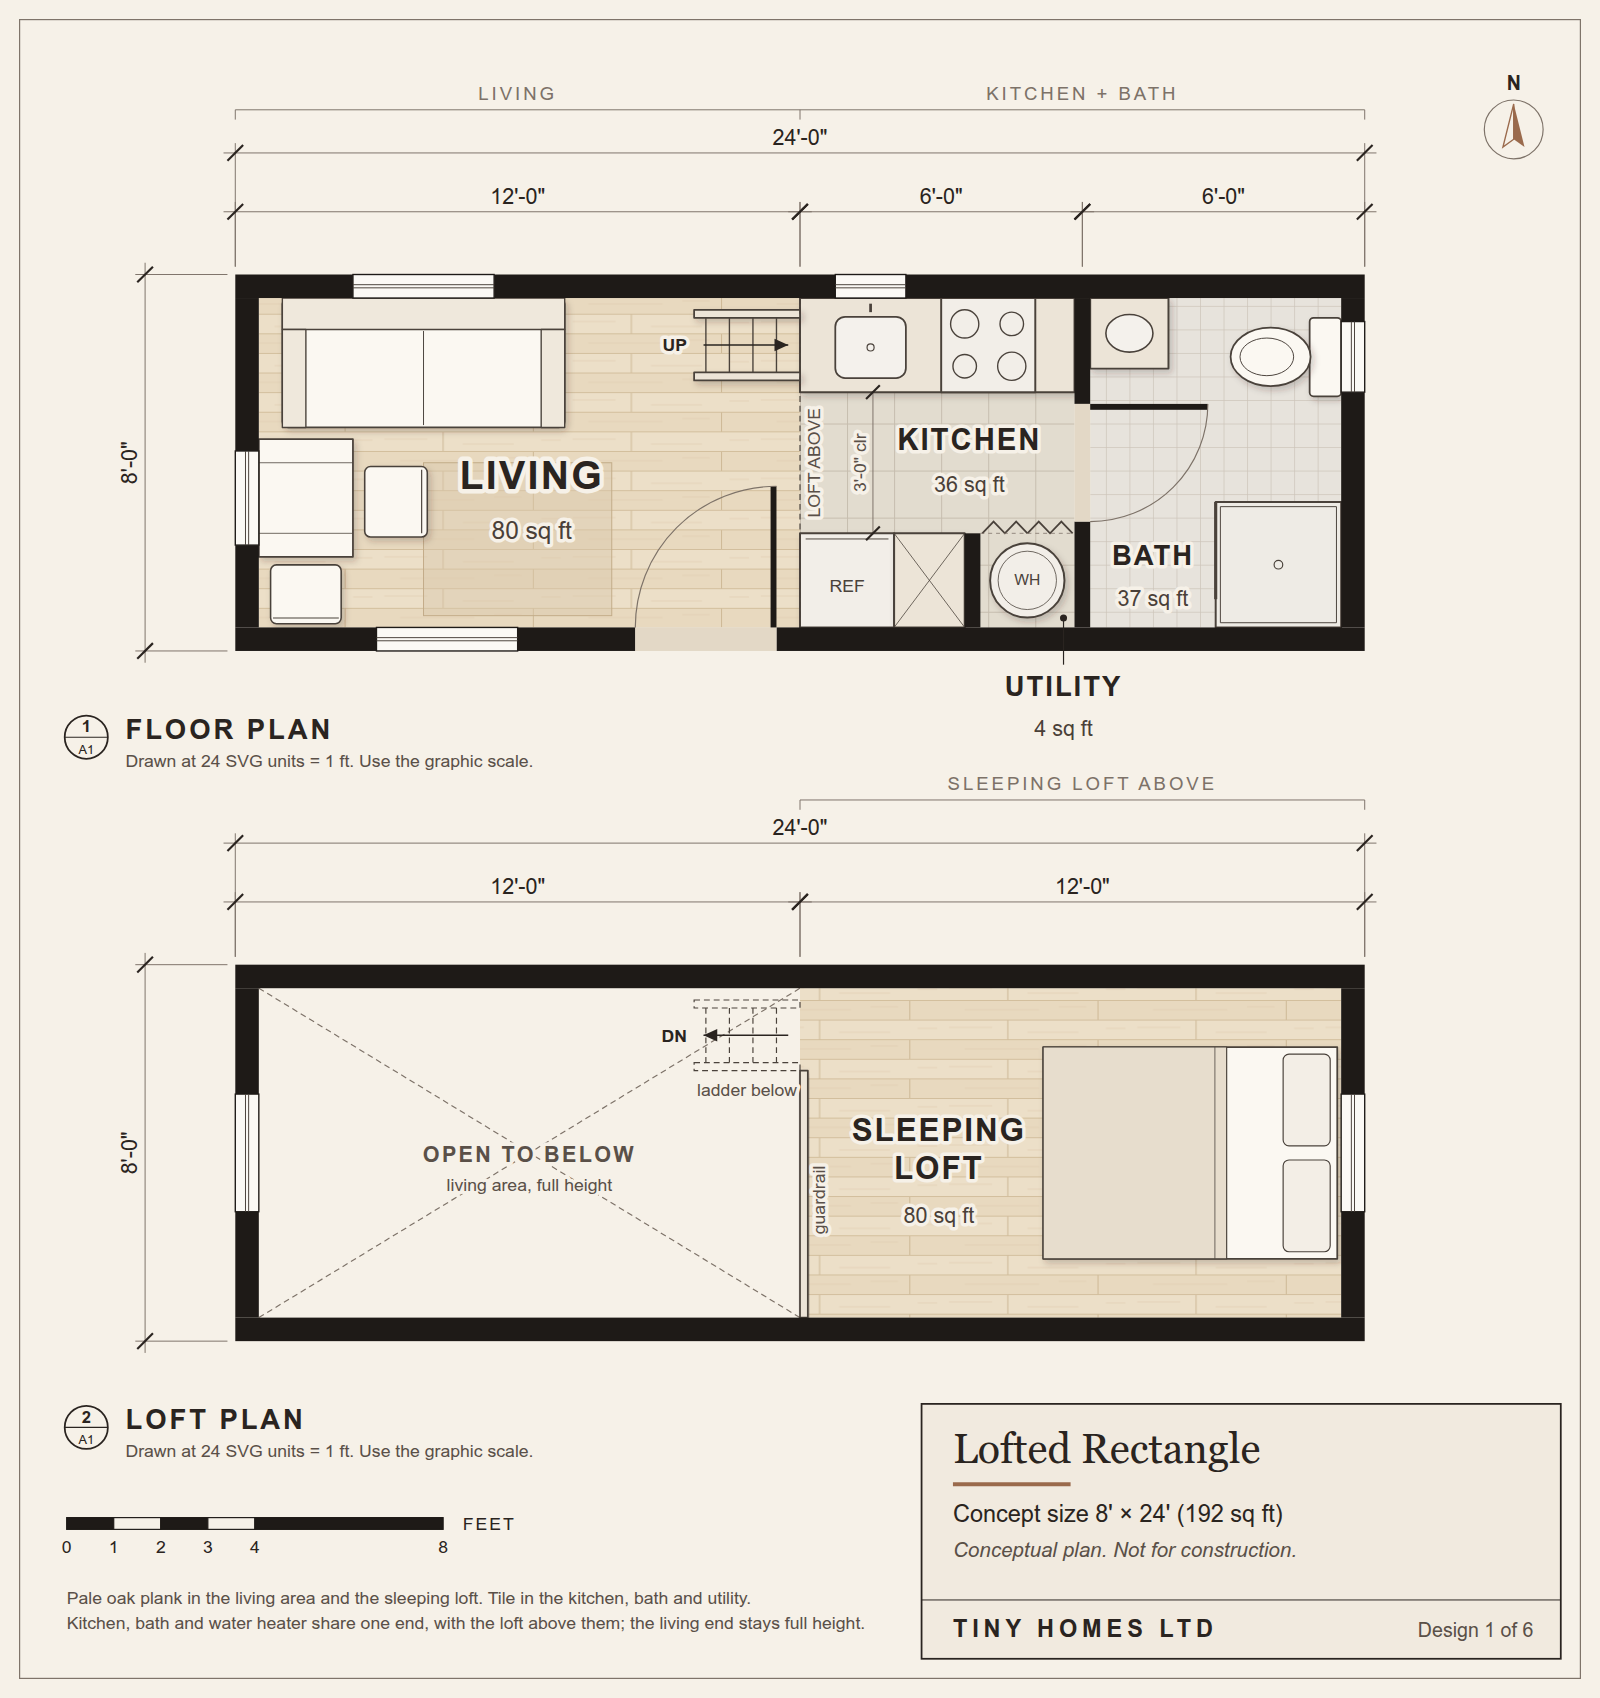
This is probably the most recognizable tiny-house layout. The concept begins with a straightforward rectangular shell approximately 8 feet wide and 24 feet long, producing about 192 square feet on the main floor before adding any loft space.
One end of the house contains an open living area with the main entrance and carefully placed windows. A straight galley kitchen occupies part of one long wall, followed immediately by the bathroom. The kitchen, bathroom and water heater are grouped together, while a sleeping loft sits above the service end of the house. The result is a compact floor plan with most of the complicated infrastructure concentrated in one area and the rest of the building left relatively open.
Why it can save money
The first advantage is the building itself. Four straight walls and a simple gable roof minimize corners, roof intersections and other details that require additional framing, flashing, siding and labour. For a tiny home on wheels, a narrow rectangular form also works naturally with the proportions of a trailer chassis.
The dimensions of the building can be coordinated with common construction materials as well. Structural wood panels are commonly produced in 4-by-8-foot sheets, and Building America guidance recommends laying out walls, openings and framing on a two-foot grid where practical to reduce cutting and material waste. The exact framing system still has to satisfy structural requirements, but designing around common material modules can prevent a surprisingly large pile of expensive offcuts. [2]
The loft provides another form of economy because it creates sleeping space without extending the foundation, floor system or trailer. If the loft is placed above the kitchen and bathroom, the added floor structure is concentrated over a part of the house that can tolerate a lower ceiling while the main living area remains open and full height.
Where the savings can disappear
A loft is not free square footage. Stairs, railings, additional floor framing, headroom and emergency-egress requirements all consume space and money, and the rules governing sleeping lofts or mezzanines vary by jurisdiction. Ontario's tiny-home guidance, for example, requires code-compliant stairs, guards and handrails for mezzanines and notes that stairs can become a substantial part of a very small floor plan. [1]
The design can also lose its simplicity surprisingly quickly. Adding dormers to create more loft headroom, installing an elaborate staircase filled with custom cabinetry or covering both long walls with large windows can turn an inexpensive shell into a considerably more complicated project. The loft works best as a budget strategy when it allows the overall house to remain smaller without creating a second architectural project inside the first one.
Best fit
This concept is particularly well suited to tiny homes on wheels and to very small fixed homes where keeping the footprint narrow has value. It works best for occupants who are comfortable climbing to a sleeping area and who value a larger open living space more than a main-floor bedroom.
2. The 12 × 20-foot single-level studio
How the layout works
The single-level studio takes almost the opposite approach. Rather than using vertical space to squeeze more functions into a tiny footprint, it eliminates the loft entirely and tries to make the main floor as simple as possible.
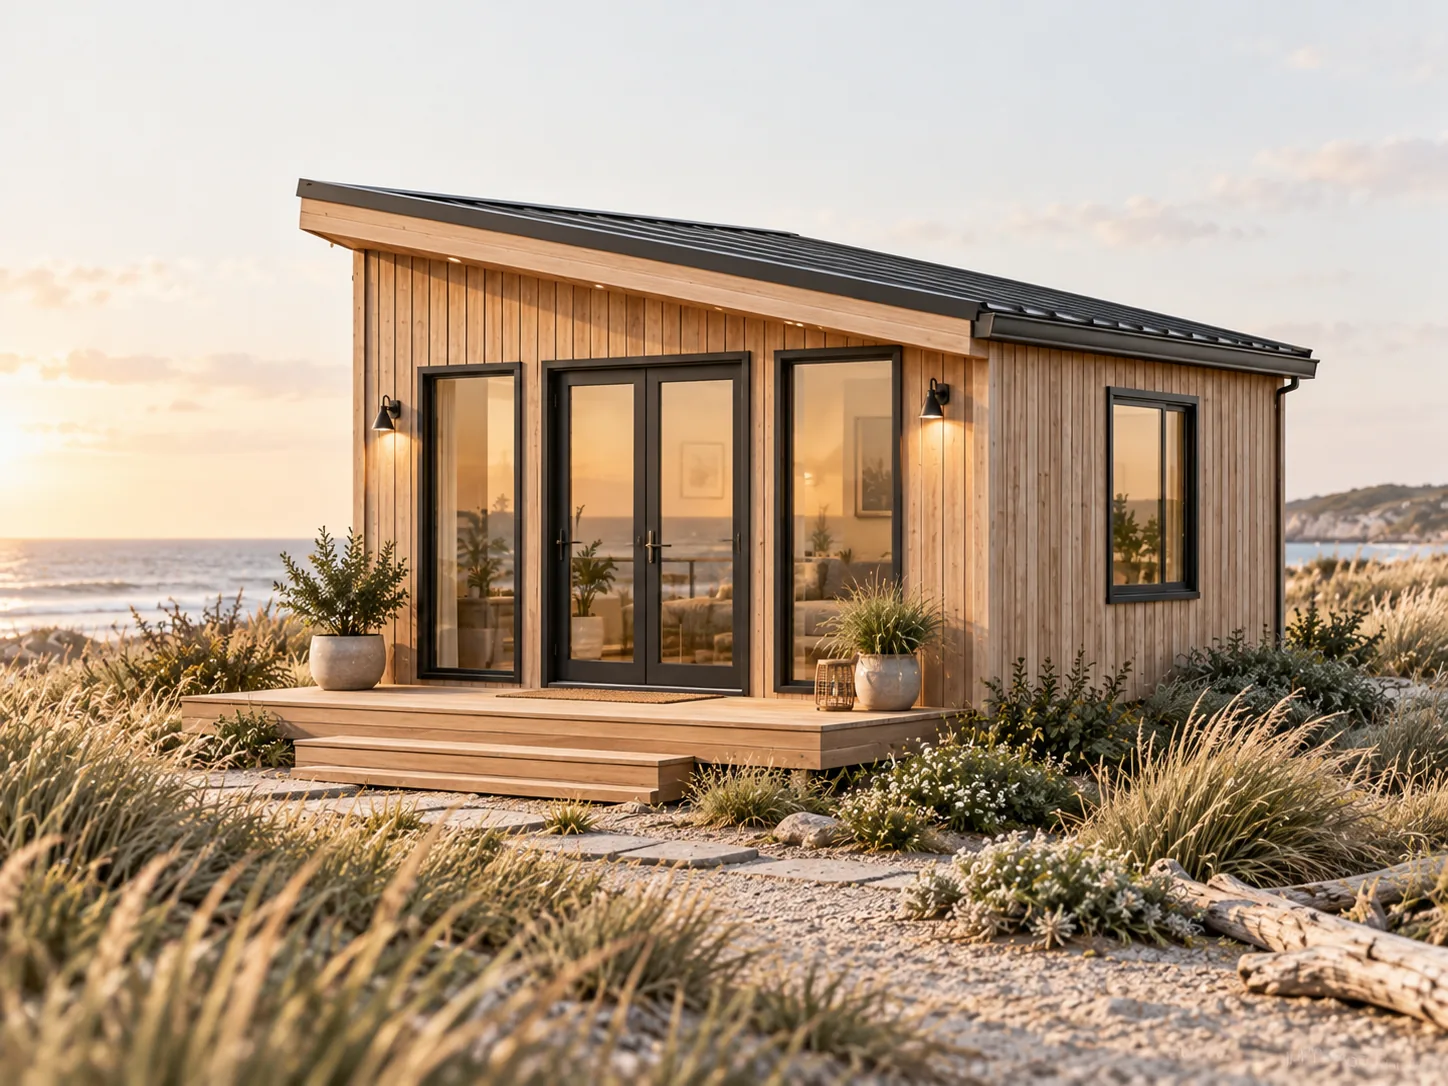
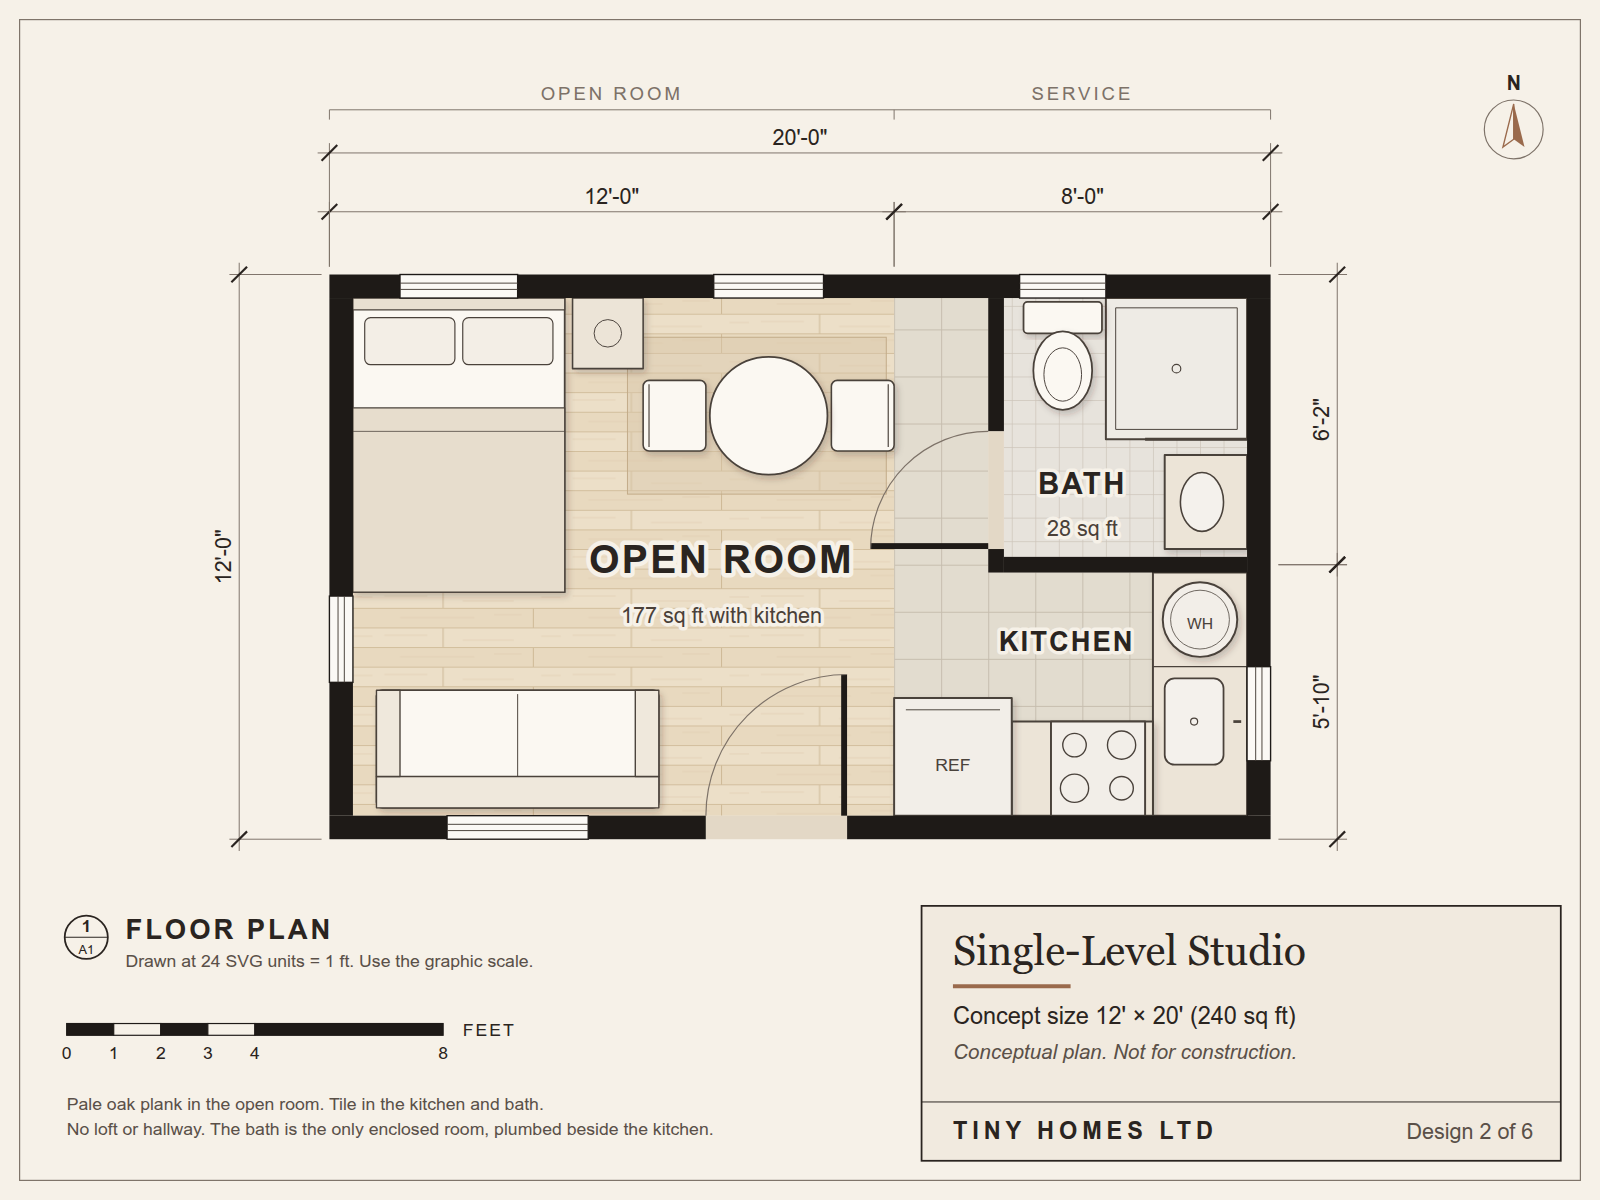
A conceptual 12-by-20-foot version provides about 240 square feet. The bathroom sits in one rear corner, with a compact kitchen immediately beside it so plumbing remains concentrated in one part of the building. The rest of the house is one open room that can accommodate sleeping, dining and living functions without dedicated hallways or unnecessary partitions.
A simple shed roof can complement the layout, although a straightforward gable roof could accomplish much the same thing. The important feature is not the exact direction of the roof slope. It is that the building has one uncomplicated roof form rather than dormers, valleys or several intersecting roof sections.
Why it can save money
Eliminating the loft removes several components at once. There is no loft floor to frame, no staircase to build, no railing system and no need to create additional headroom upstairs. Fewer interior walls also mean fewer studs, doors, electrical boxes, wall finishes and trim.
The open plan can make the floor area itself work harder. Ontario's tiny-home guidance provides a useful illustration of this principle: its Building Code permits the required areas for living, sleeping, dining and kitchen functions to occupy a substantially smaller combined space when they form an open-concept layout rather than being divided into separate rooms. Other jurisdictions have different minimums, but the underlying design lesson is broadly applicable. A square foot used as a hallway still has to be framed, insulated, roofed, heated and finished, even though it performs very little useful living function. [1]
Where the savings can disappear
A shed roof is sometimes promoted as automatically cheaper than a gable roof, but that is too simplistic. Although one continuous roof plane avoids valleys and complicated intersections, the taller wall still requires framing and cladding, while rafters, drainage, wind resistance and snow loading have to be designed for local conditions.
Single-level living also requires the sleeping area to compete with everything else for main-floor space. If the answer is simply to keep making the building longer or wider, the cost advantage of eliminating the loft can begin to disappear. The design works best when the occupant is genuinely comfortable with studio-style living rather than trying to recreate a conventional one-bedroom apartment inside a very small shell.
Best fit
This design makes sense for people who do not want stairs or ladders, including those thinking about accessibility or long-term usability. It is particularly attractive for a small permanent-foundation home, backyard dwelling or factory-built unit where transport width is not the primary constraint.
3. The 16 × 16-foot compact square cabin
How the layout works
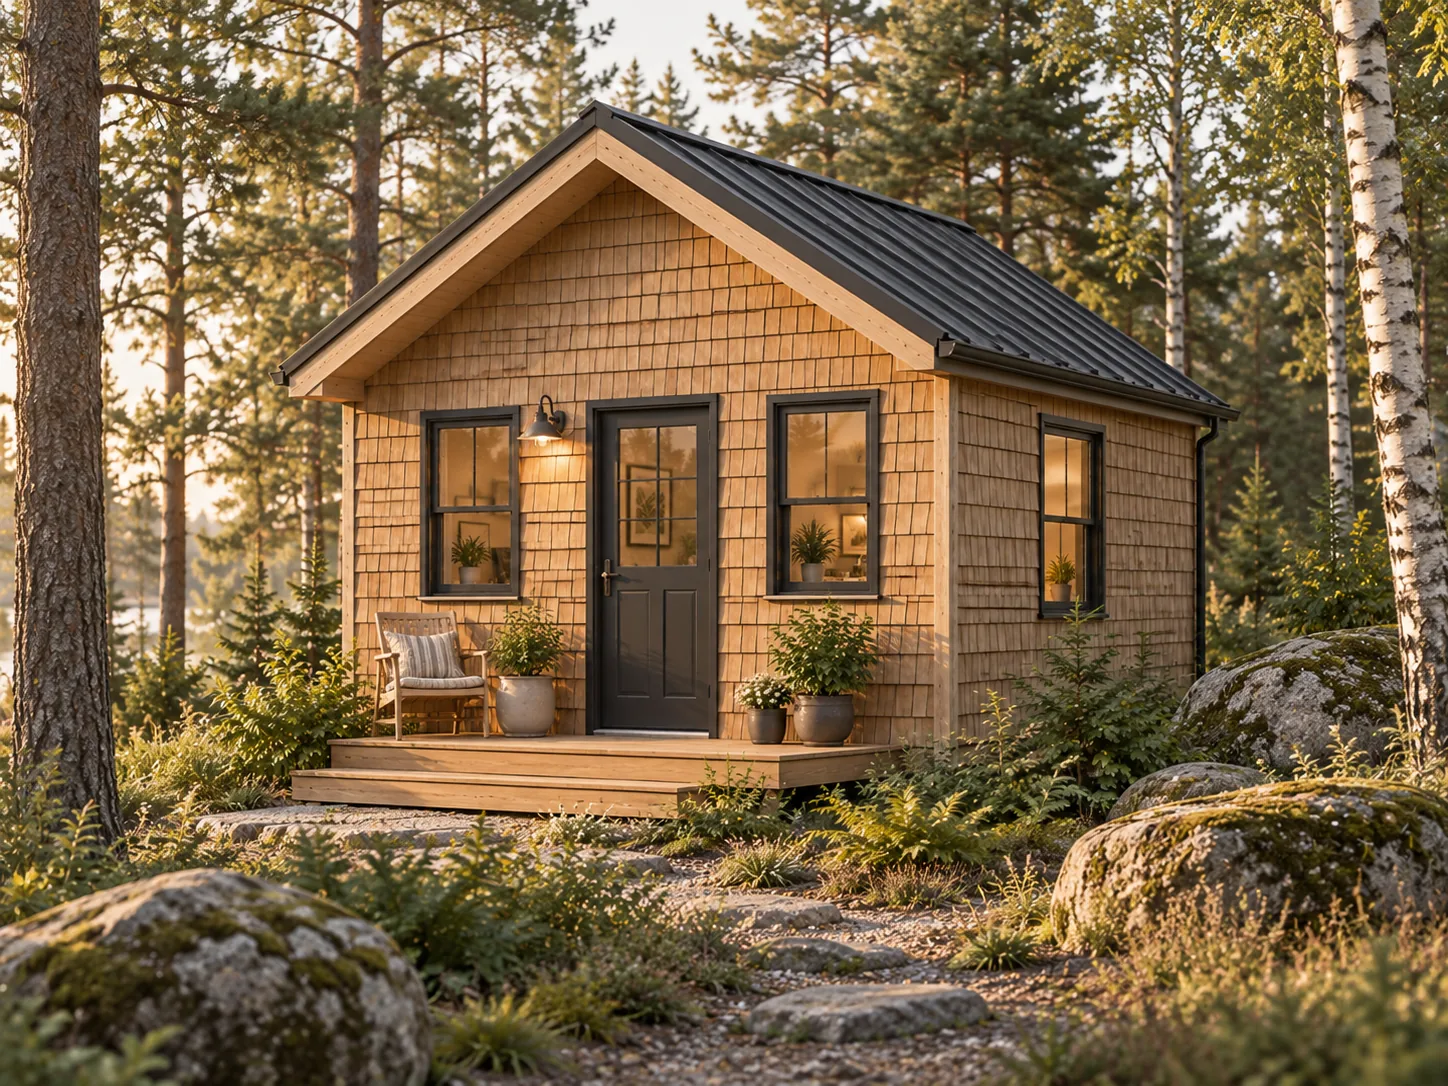
The compact square cabin demonstrates a different type of efficiency. Instead of trying to minimize width or maximize vertical space, it tries to enclose a useful amount of floor area with as little exterior perimeter as practical.
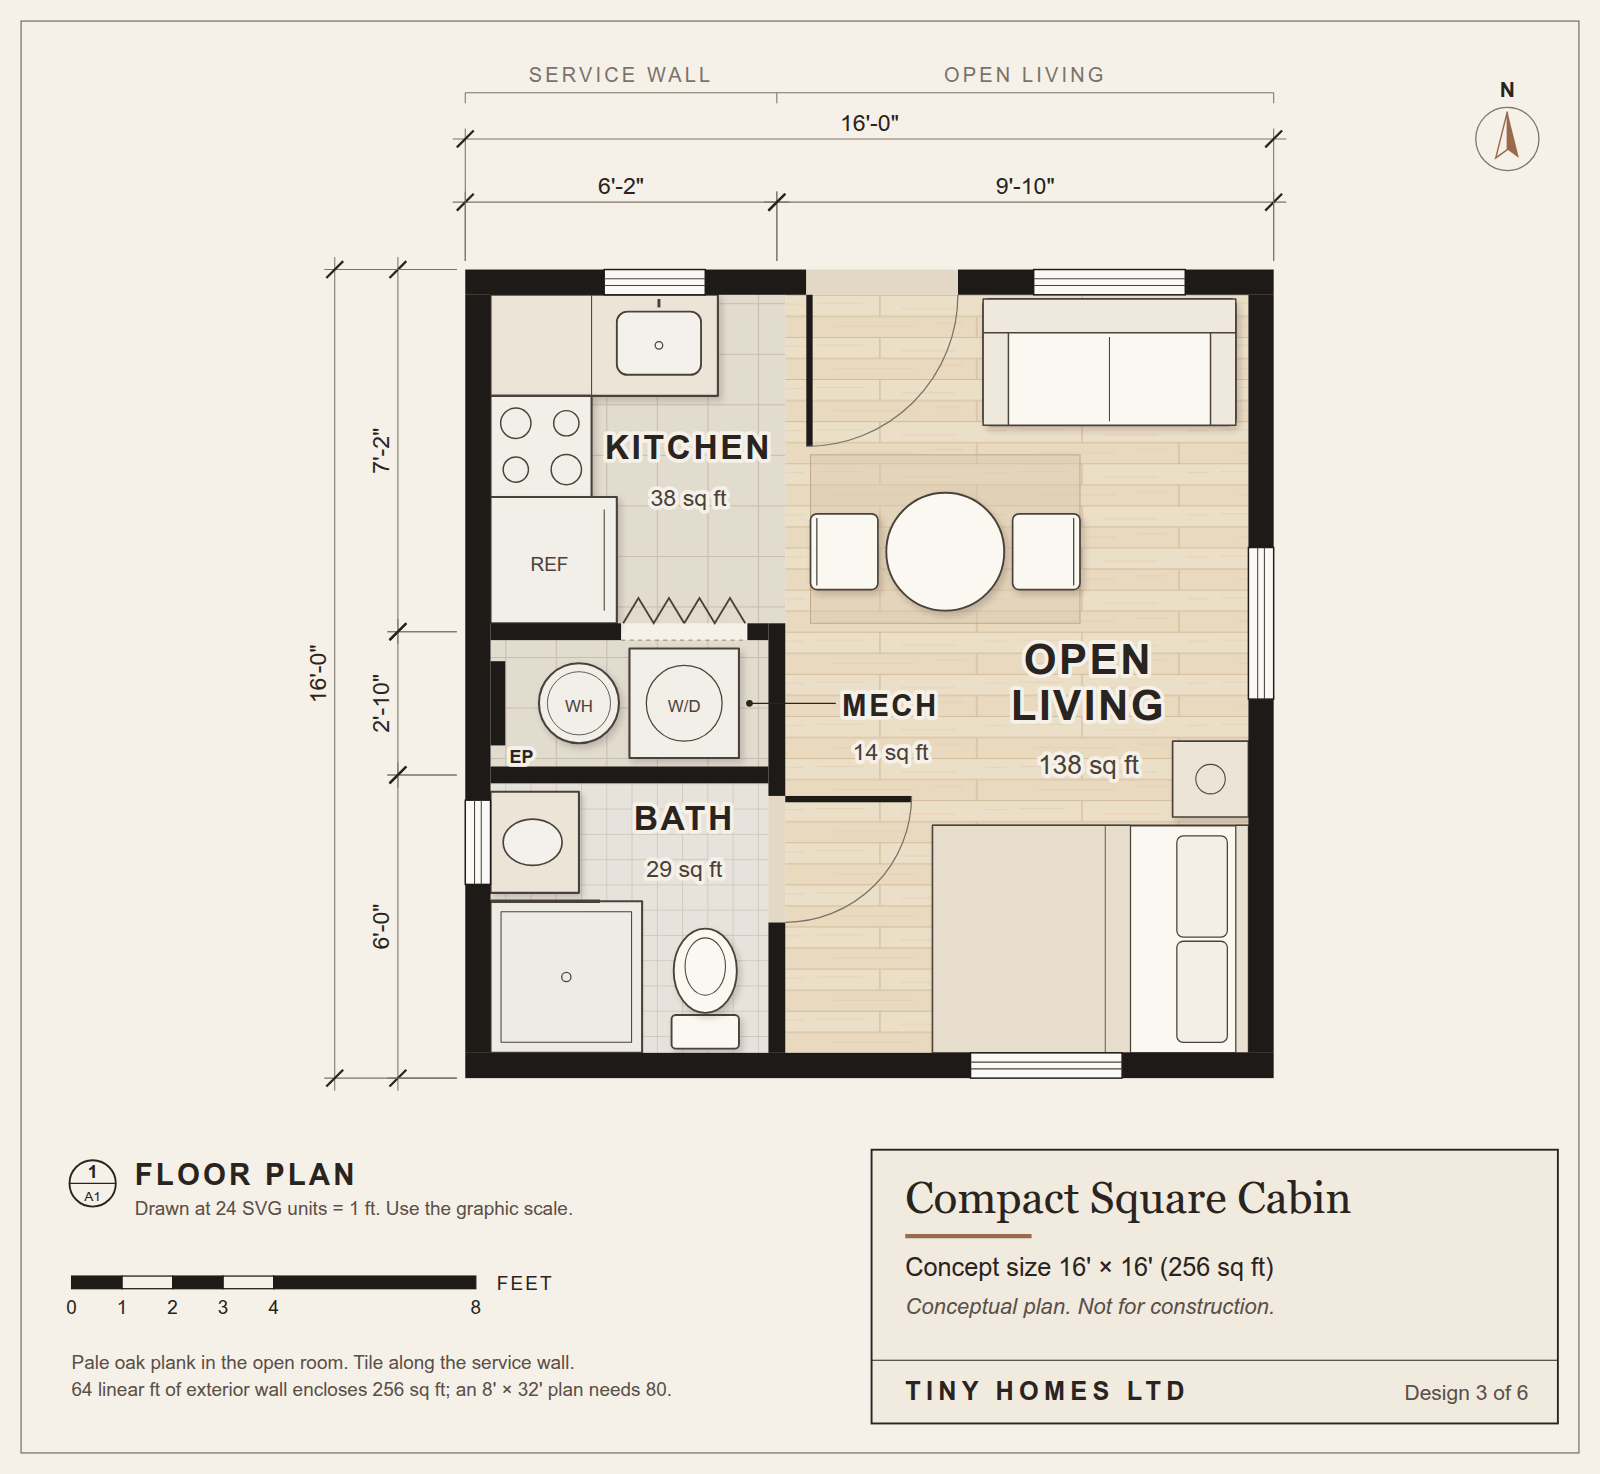
A 16-by-16-foot building contains 256 square feet. The kitchen and bathroom can occupy one side of the house with a compact mechanical or storage closet between them, while the remaining area stays open for living, dining and sleeping. A simple gable roof keeps the overall form straightforward.
This format is especially practical for a small site-built home because it is not constrained by the proportions of a road-going trailer. That allows the floor plan to become shorter and wider, which changes both its spatial character and its material requirements.
Why it can save money
The geometry is straightforward. A 16-by-16-foot building has 64 linear feet of exterior perimeter. An 8-by-32-foot building contains the exact same 256 square feet of floor area but has 80 linear feet of perimeter.
That means the long, narrow version has 25% more exterior perimeter surrounding exactly the same amount of floor space. Depending on the construction system, additional perimeter can mean more foundation, exterior wall framing, insulation, sheathing, siding and interior wall finish.
A compact plan can also shorten travel distances inside the house. The bathroom, kitchen and mechanical equipment do not have to be separated by the full length of a narrow 30-foot building, which makes the square layout a useful starting point for a compact service core.
Where the savings can disappear
A square is mathematically efficient in perimeter, but a building is more than a perimeter calculation. As the width of the building increases, floor joists, rafters or trusses have farther to span. Depending on the structure and local loads, that may require larger members, engineered components or additional support.
A deeper floor plan also creates design challenges. Windows are all located at the exterior, so a wide building needs more careful planning to ensure that useful spaces still receive daylight and ventilation. The shortest possible perimeter is therefore not necessarily the least expensive complete building.
Best fit
The square or near-square plan is most attractive for a tiny home on a permanent foundation where transport width is irrelevant. It is particularly useful for projects where minimizing exterior envelope is valuable and where a somewhat wider, more conventional room layout is preferred over the corridor-like proportions of many tiny homes on wheels.
4. The 12 × 24-foot shared-service-core home
How the layout works
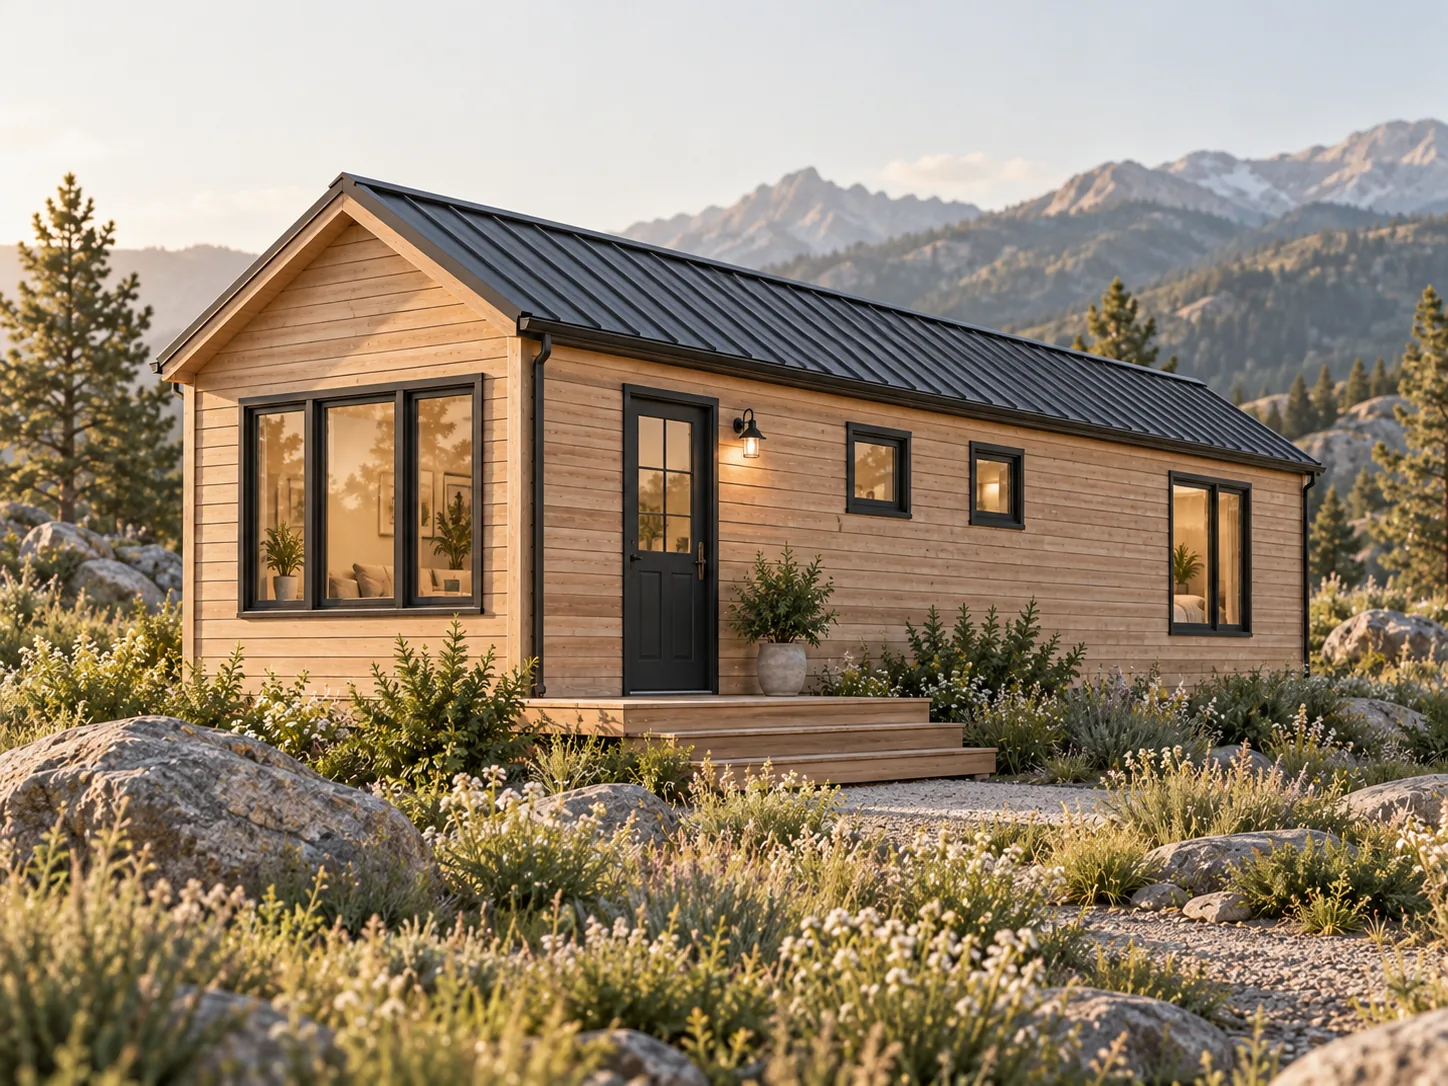
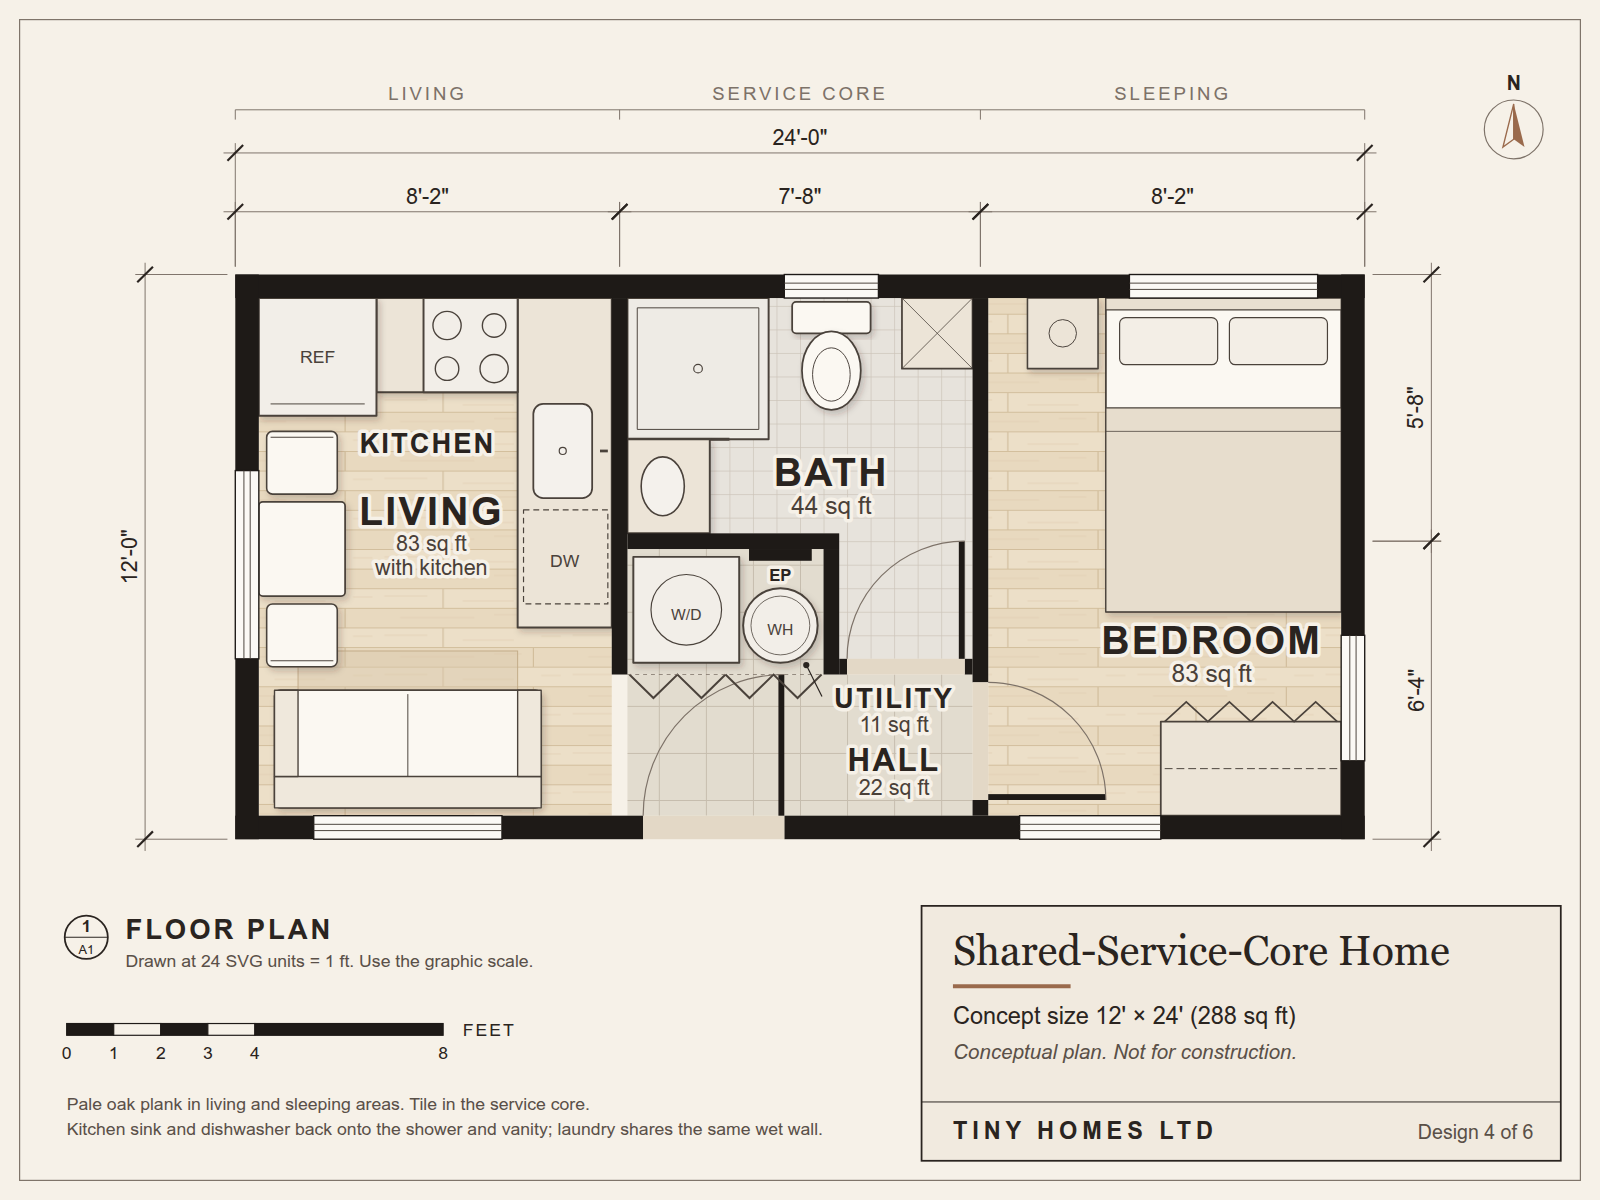
The shared-service-core home is designed around the parts of a house that require water, drainage, ventilation, electricity and mechanical equipment. Instead of drawing the rooms first and figuring out how to connect everything afterward, the mechanical systems become part of the floor-plan logic from the beginning.
In a conceptual 12-by-24-foot layout, the living space occupies one end and a bedroom or sleeping area occupies the other. Between them sits a compact service zone. The kitchen sink and dishwasher can be placed on one side of an interior wall, with the bathroom vanity and shower immediately behind them. A nearby utility closet can contain the water heater, electrical equipment and laundry where applicable.
This does not mean every pipe and wire literally occupies a single wall. The point is to deliberately keep the house's major services close together instead of scattering them around the floor plan.
Why it can save money
Plumbing is the clearest example. EPA WaterSense specifically recommends a core hot-water layout for smaller homes with relatively few fixtures. By locating fixtures close to the water heater and using shorter, more direct pipe runs, a core system can require less material, take less time to install and reduce the amount of water that sits in pipes while occupants wait for hot water. [3]
The same planning discipline is useful for electrical and mechanical systems. The electrical panel can be located somewhere accessible and relatively central to the largest loads, while space for the water heater, HVAC equipment and ventilation components can be reserved before cabinetry and furniture consume the available wall area. The monetary saving from shortening a few electrical branch circuits may be modest, but avoiding redesigns, difficult routing and conflicts between trades can be much more valuable.
Where the savings can disappear
Concentrating services should not turn into a reason to specify unnecessarily exotic equipment. A tiny electric tankless water heater, specialized RV appliance or complicated plumbing manifold may occupy less physical space while costing more than a conventional alternative. The correct choice depends on the whole system, including electrical capacity, hot-water demand, fuel availability and maintenance.
Electrical service is another area where square footage is a poor shortcut. Ontario requires tiny homes to comply with the same electrical safety requirements as regular homes, and the required service ultimately depends on the loads being installed rather than simply on the size of the house. An all-electric tiny home with resistance cooking, electric hot water, laundry and space conditioning can still have substantial peak electrical demand. [1]
Best fit
A compact service core is useful in almost any tiny-home format and could easily be combined with several of the other designs in this article. It is especially valuable when the goal is a straightforward, conventional plumbing system and when the owner wants to avoid paying for complexity hidden behind the finished walls.
5. The 12 × 24-foot transformer studio
How the layout works
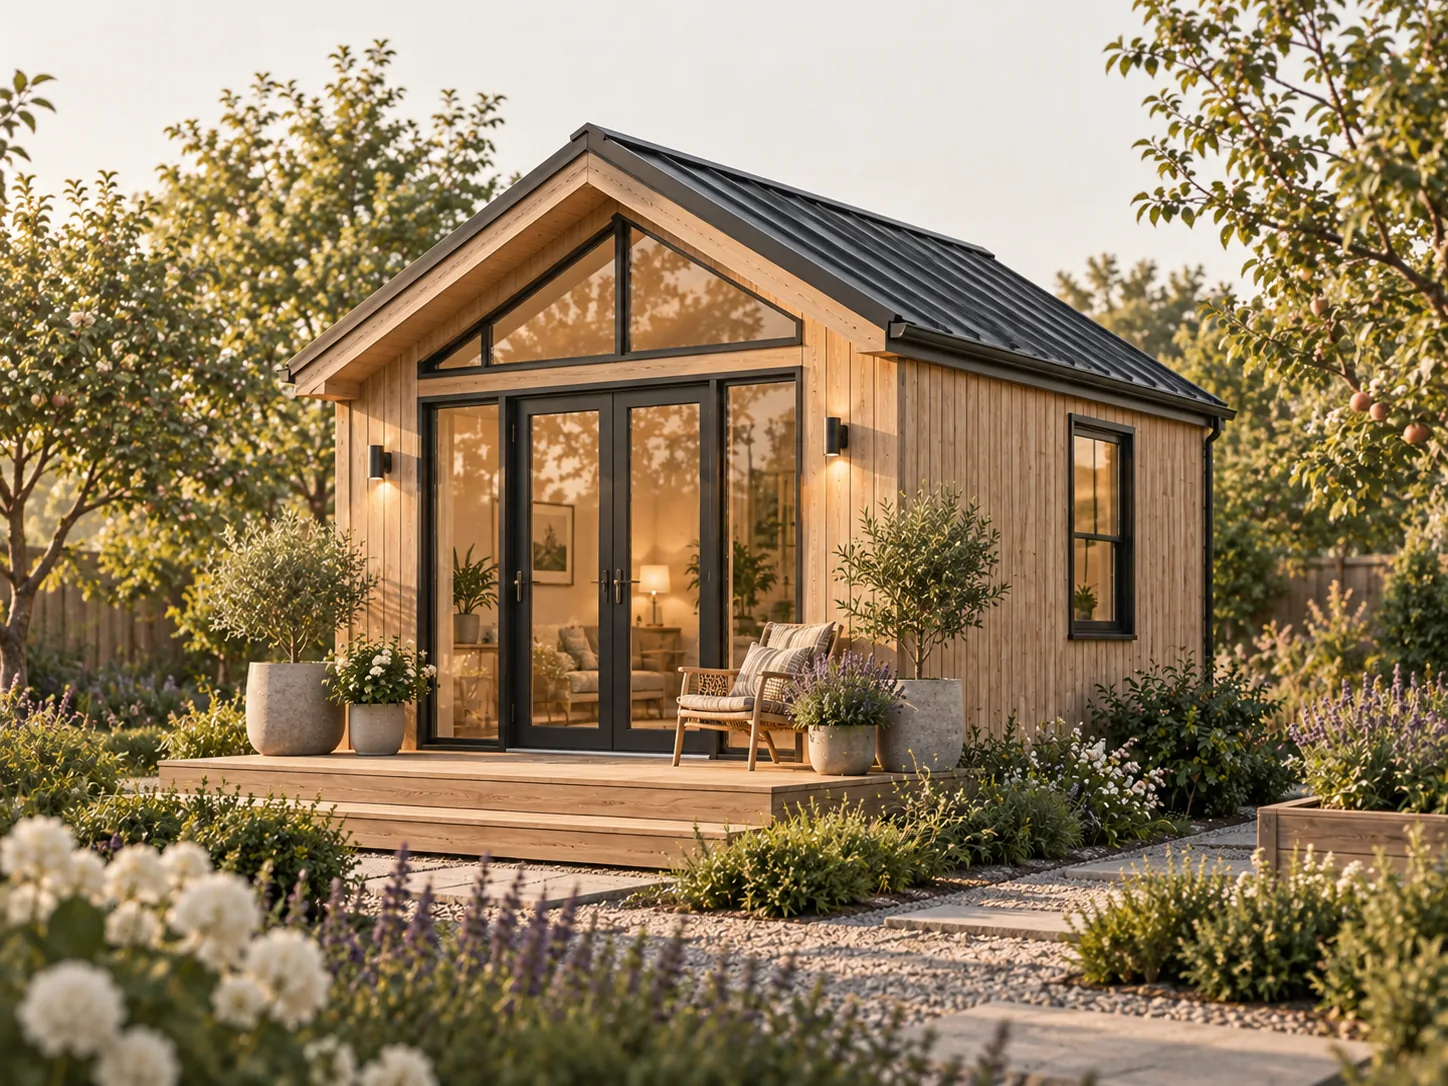
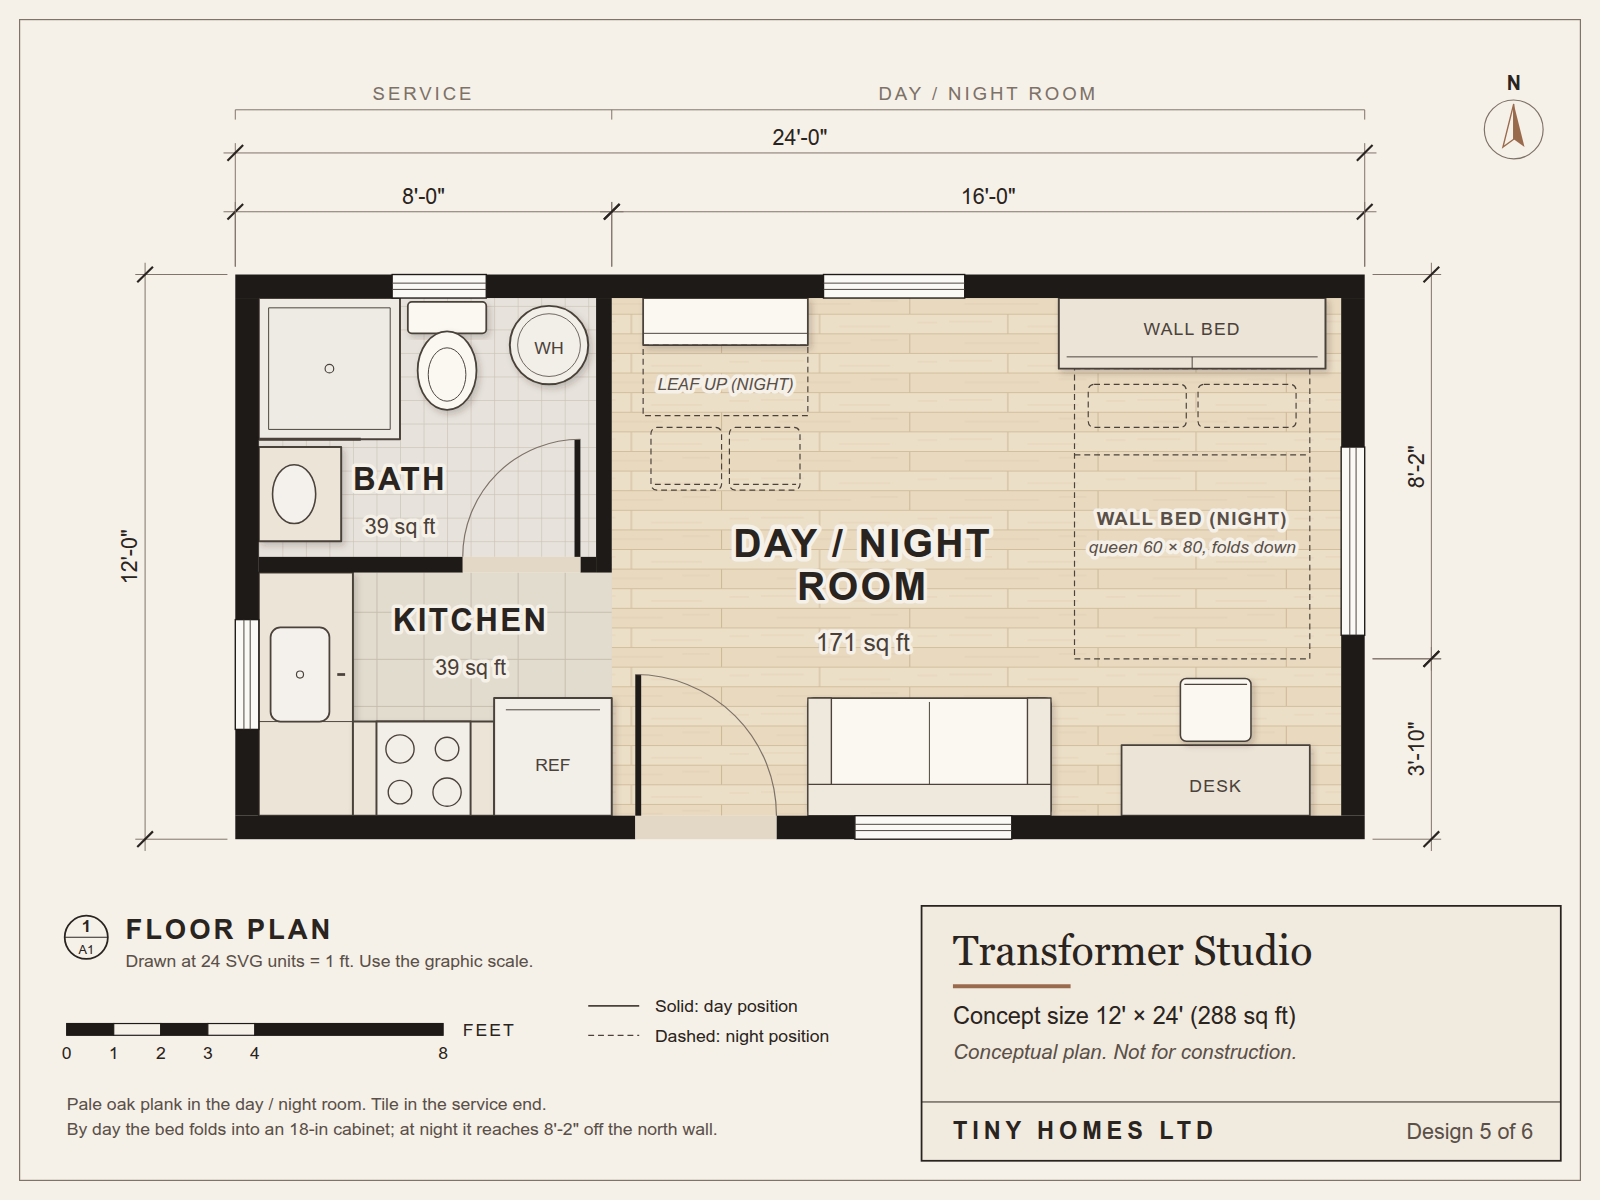
The transformer studio asks whether a house really needs a separate room for every activity. Rather than adding square footage for a bedroom, dining room and office, the design allows the same open space to perform several jobs at different times of day.
The kitchen and bathroom occupy one end of a simple 12-by-24-foot shell, keeping the service zone compact. The remaining area can include a wall bed or sofa-bed, a folding or drop-leaf table, movable seating and storage built into otherwise unused locations. During the day, the space functions as a living room and workspace. At night, part of the same area becomes the bedroom.
The exterior building remains intentionally ordinary. The design intelligence is concentrated in how the interior is used rather than in complicated exterior geometry.
Why it can save money
The strongest economic argument for multifunctional space is that it can reduce the amount of house required. Fifty square feet that never has to be built removes more than just flooring. Depending on the design, it can also remove a corresponding share of the foundation, exterior walls, insulation, roofing, heating load and finishes.
The open plan also reduces dedicated circulation space and interior partitions. Instead of creating a hallway to reach a bedroom and another area for dining, movement simply occurs through the same room being used for everyday activities.
The most budget-friendly version does not require futuristic furniture. A conventional sofa-bed, freestanding storage, a simple wall-mounted desk or a drop-leaf table can provide much of the same flexibility without turning the interior into a custom fabrication project.
Where the savings can disappear
Custom built-ins can become one of the most expensive parts of a tiny house. A bespoke staircase containing a dozen drawers, a motorized bed platform and a custom dining system may be ingenious, but those features can easily consume the money saved by reducing the floor area.
There is also a usability tradeoff. A space that technically performs four functions is not necessarily pleasant if changing between those functions requires moving half the furniture every morning and evening. The design should therefore focus on a few simple transformations that actually suit the occupants rather than trying to make every object perform three unrelated jobs.
Best fit
The transformer layout works particularly well for one or two people who are comfortable with open-concept living and whose activities occur at different times of day. It is less compelling for households where several people regularly need private spaces at the same time.
6. The 12 × 16-foot expandable starter home
How the layout works
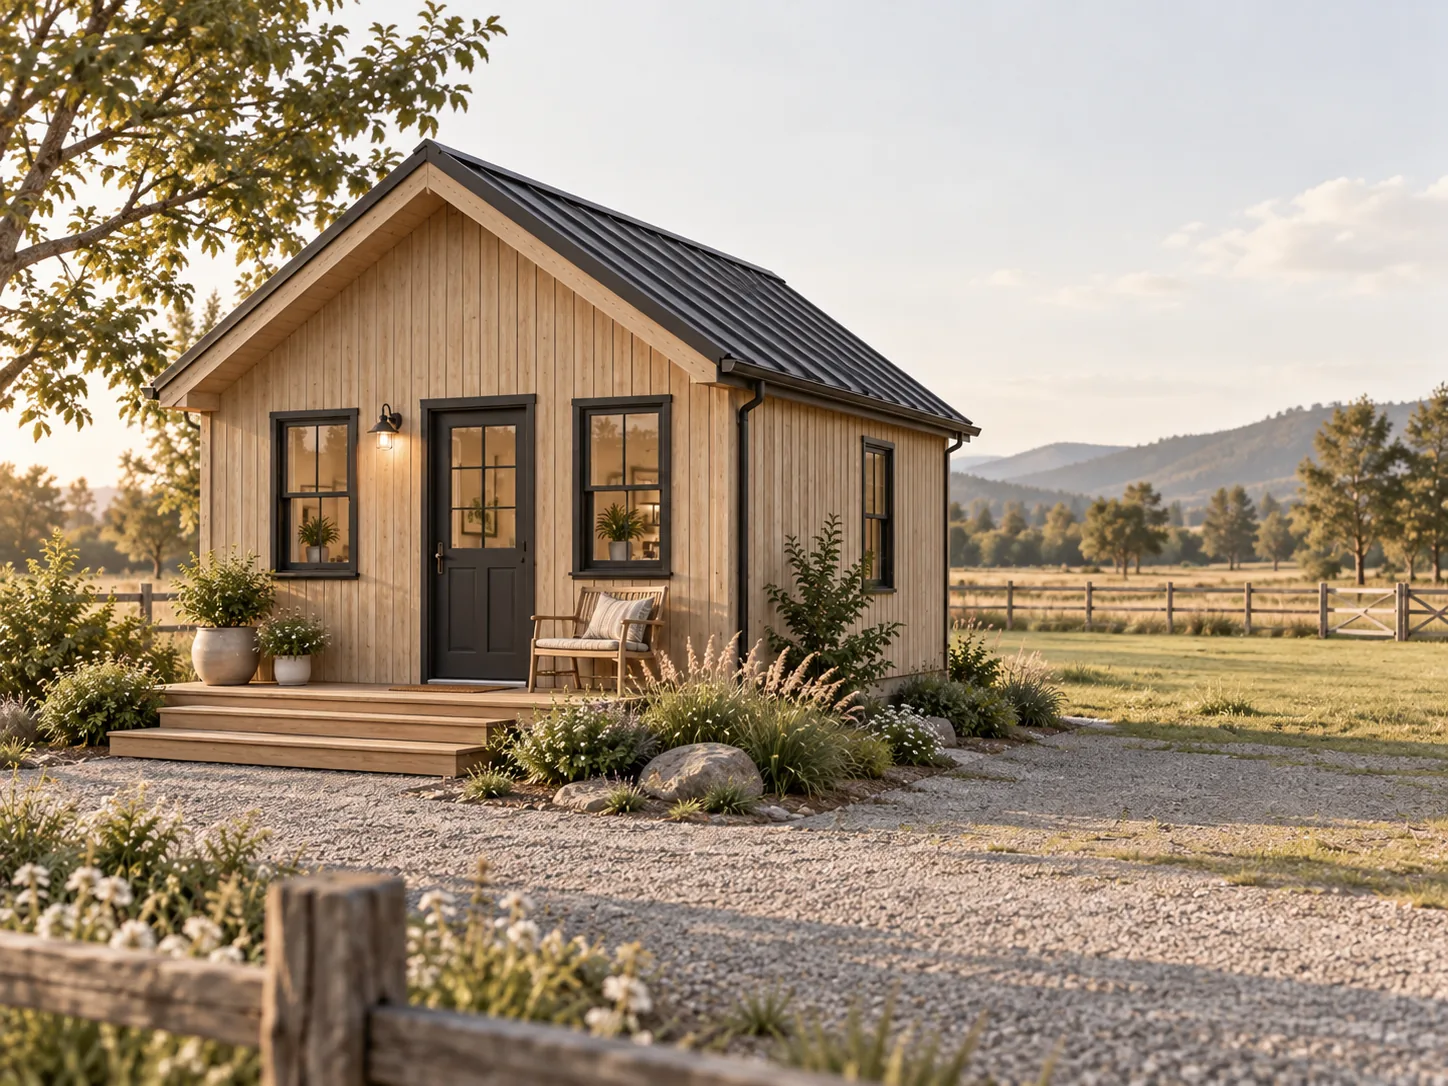
The expandable starter home addresses a different definition of affordability. Instead of trying to minimize the lifetime cost of a finished house, it tries to reduce the amount of money that must be spent during the first stage of construction.
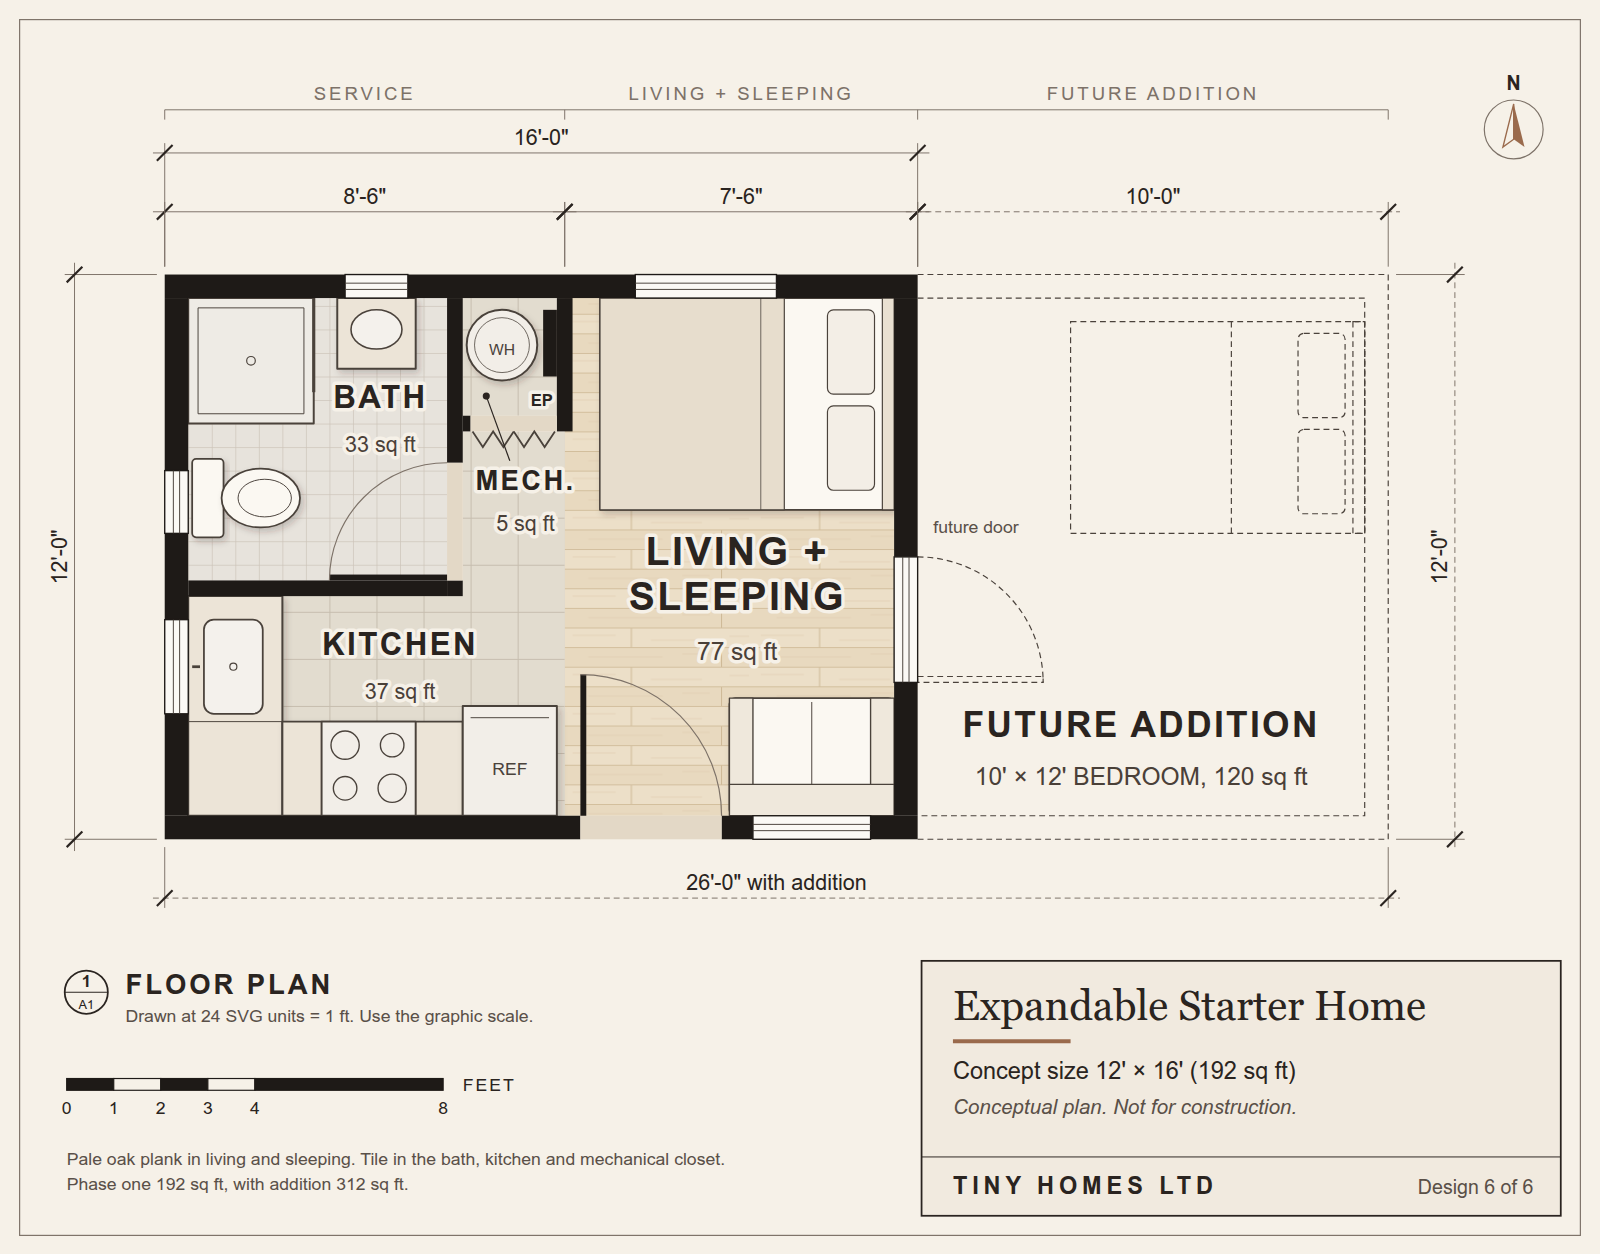
A conceptual first phase could measure 12 by 16 feet, providing about 192 square feet. It would contain a complete bathroom, compact kitchen and combined living and sleeping area. The kitchen, bathroom and mechanical systems would be concentrated toward one side of the plan, while one gable end would be intentionally designed as the location for a future addition.
A later 10-by-12-foot bedroom, for example, could expand the house from 192 to 312 square feet. The important point is that the future addition is considered while the original house is being designed rather than improvised several years afterward.
Why it can save money
The immediate advantage is straightforward: the owner builds less house today. For someone constrained by available cash rather than by the eventual size of the home, that can make the first phase of the project achievable sooner.
Planning for expansion can also reduce future demolition. The position of windows, plumbing, electrical equipment, roof lines and structural elements can be chosen so a future addition attaches to an appropriate part of the house. Site planning can reserve enough room for the second phase rather than discovering later that setbacks, septic components or utility routes occupy the only logical expansion area.
This approach can also encourage owners to distinguish between what they genuinely need now and what they merely expect they might need eventually. In some cases, the first-stage house may prove entirely adequate and the planned addition may never be necessary.
Where the savings can disappear
Phased construction is not automatically cheaper in total. Building 192 square feet today and another 120 square feet five years from now can cost more than building the complete 312-square-foot house at once because mobilization, permits, foundations, exterior work and some finishes may have to be repeated.
A poorly planned addition can be especially expensive. If the future work requires relocating the electrical panel, demolishing a bathroom, rebuilding a complicated roof or abandoning an existing foundation, the original "budget" strategy may create more cost than it avoided.
The expandable home should therefore be thought of as a cash-flow strategy, not a promise of the lowest eventual construction price.
Best fit
This concept makes the most sense for a permanent-foundation home on a site with room to grow. It suits owners whose current budget is limited but whose future space requirements may change, provided they are willing to do enough design work upfront to make the later phase practical.
What the six designs have in common
The six floor plans look different, but the underlying budget principles repeat throughout them. A genuinely inexpensive tiny home is usually not created by finding one miraculous material or construction method. It is created by making dozens of design decisions that collectively remove unnecessary building.
Keep the building form simple
Every bump-out, dormer, valley and intersecting roof line adds another detail that has to be framed, sheathed, waterproofed, insulated and finished. Sometimes those features are worth having, but they should earn their place in a budget-oriented design.
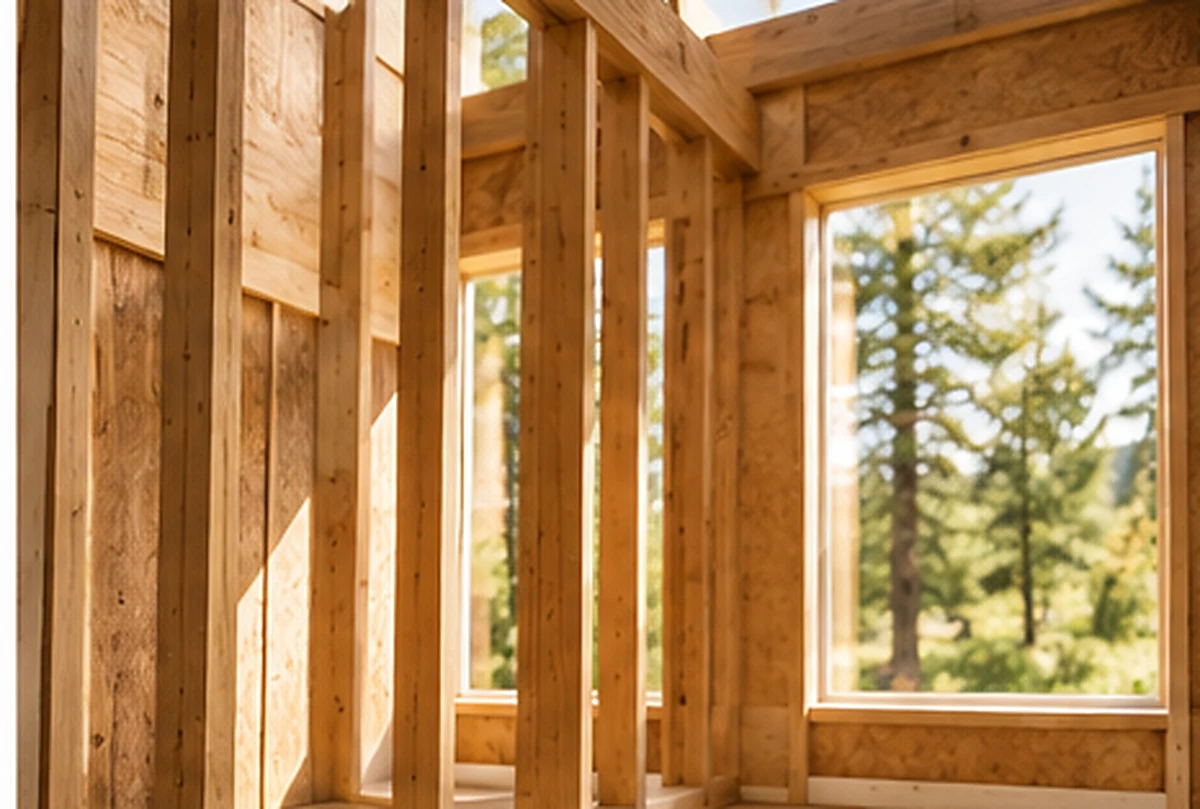
Simple does not necessarily mean boring. A well-proportioned rectangle with carefully located windows, good cladding and a straightforward roof can still produce an attractive house without asking the builder to resolve a collection of expensive architectural intersections.
Design around materials instead of around offcuts
Standard construction materials have standard dimensions, and a floor plan can either cooperate with those dimensions or fight them. Building America guidance recommends coordinating wall lengths, heights, doors and windows around a two-foot module where practical, while advanced-framing techniques can reduce unnecessary lumber and leave more room for insulation. [2]
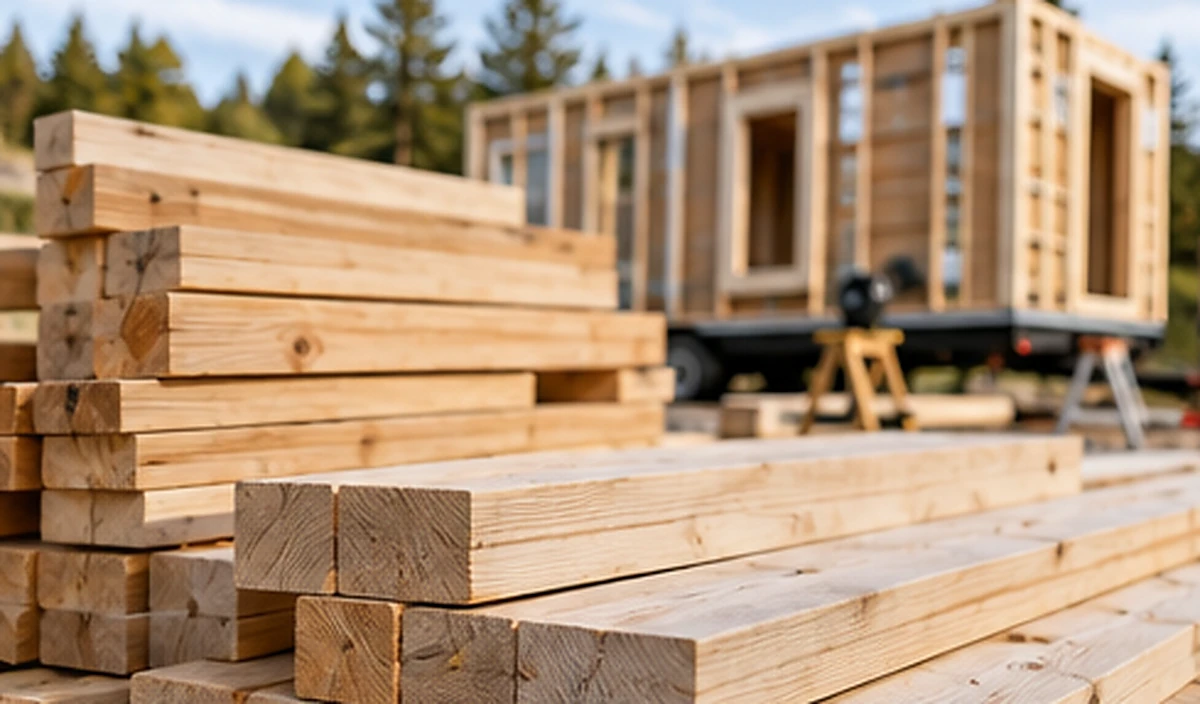
That does not mean every tiny house should use the same stud spacing or framing system. Structural requirements depend on loads, materials, climate and local code. The more general principle is to avoid creating dozens of awkward cuts and special conditions when a modest dimensional change could allow standard materials to fit more naturally.
Use windows deliberately
Windows are particularly valuable in a tiny home because daylight and views can make a small interior feel considerably more generous. They are also significantly more complicated and thermally weaker than an insulated section of wall.
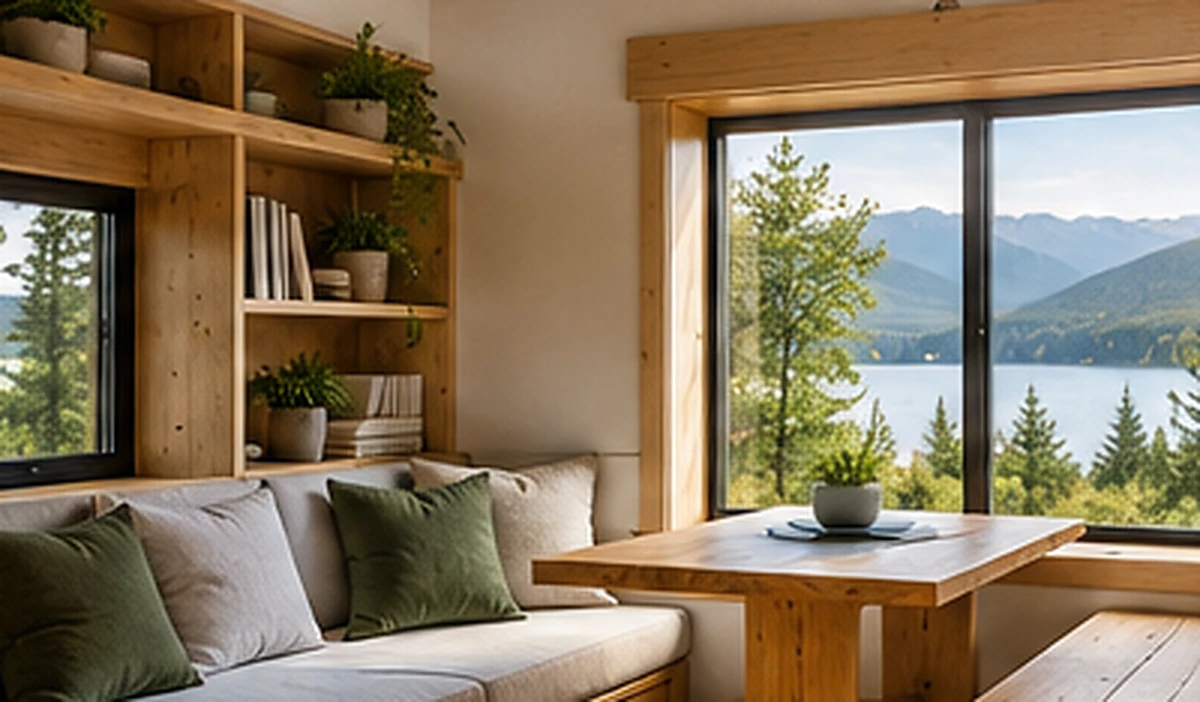
The goal is therefore not to minimize windows indiscriminately, but to make each one useful. A well-positioned window can provide daylight, a view, ventilation and, where required, emergency escape at the same time. Window performance should also be matched to the climate; the U.S. Department of Energy notes that U-factor, solar heat-gain coefficient, air leakage and condensation resistance all affect how a window performs in different conditions. [4]
A few thoughtfully positioned standard-size windows will usually make more sense in a budget build than glazing every available wall because the house looked dark on a floor-plan drawing.
Concentrate plumbing and hot water
The kitchen sink does not need to be at one end of a 24-foot house while the shower and water heater are at the other. EPA WaterSense recommends centralized hot-water layouts for smaller homes specifically because short, direct runs can reduce pipe, installation time, heat loss and the amount of water wasted while waiting for hot water. [3]
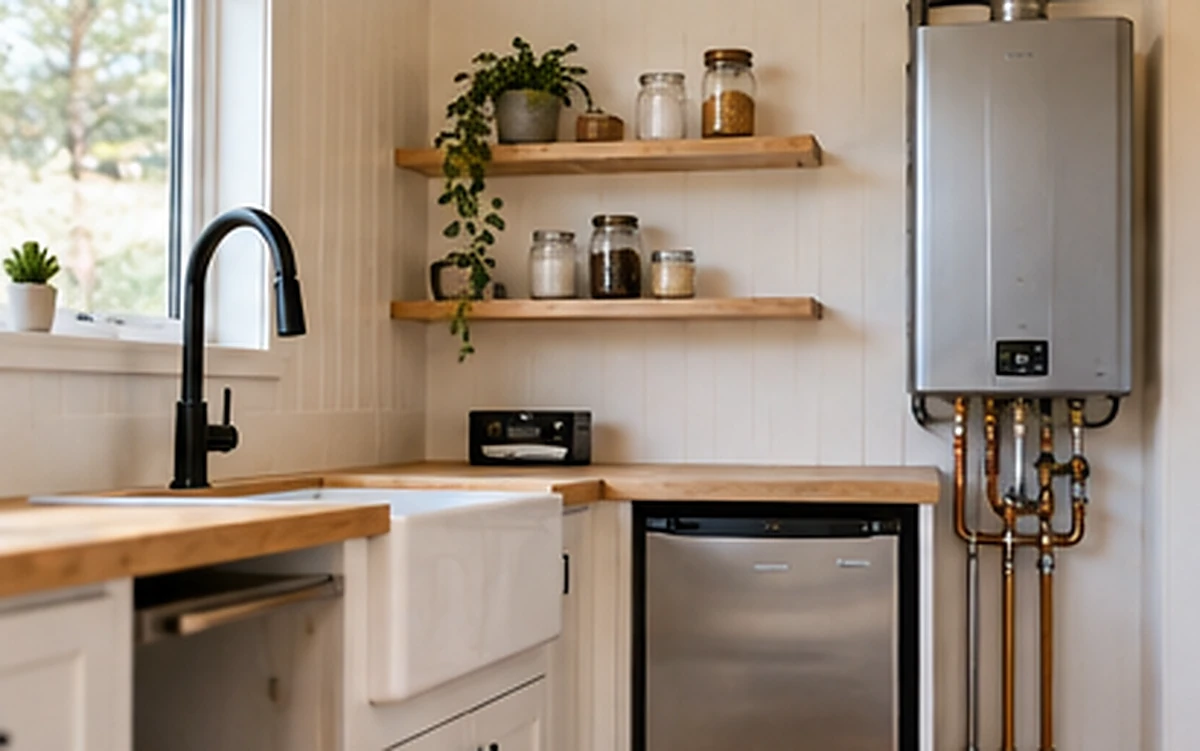
This is one of the areas where designing small can create a genuine advantage. A tiny home offers an opportunity to place nearly every water-using fixture within a compact zone, but that benefit only exists if the floor plan takes advantage of it.
Treat the building envelope as infrastructure
Insulation, air sealing, flashing and moisture control are poor places to chase the absolute lowest bid. These systems are difficult to repair once the exterior and interior finishes are installed, and their performance affects both comfort and the size of the mechanical system required to condition the house.
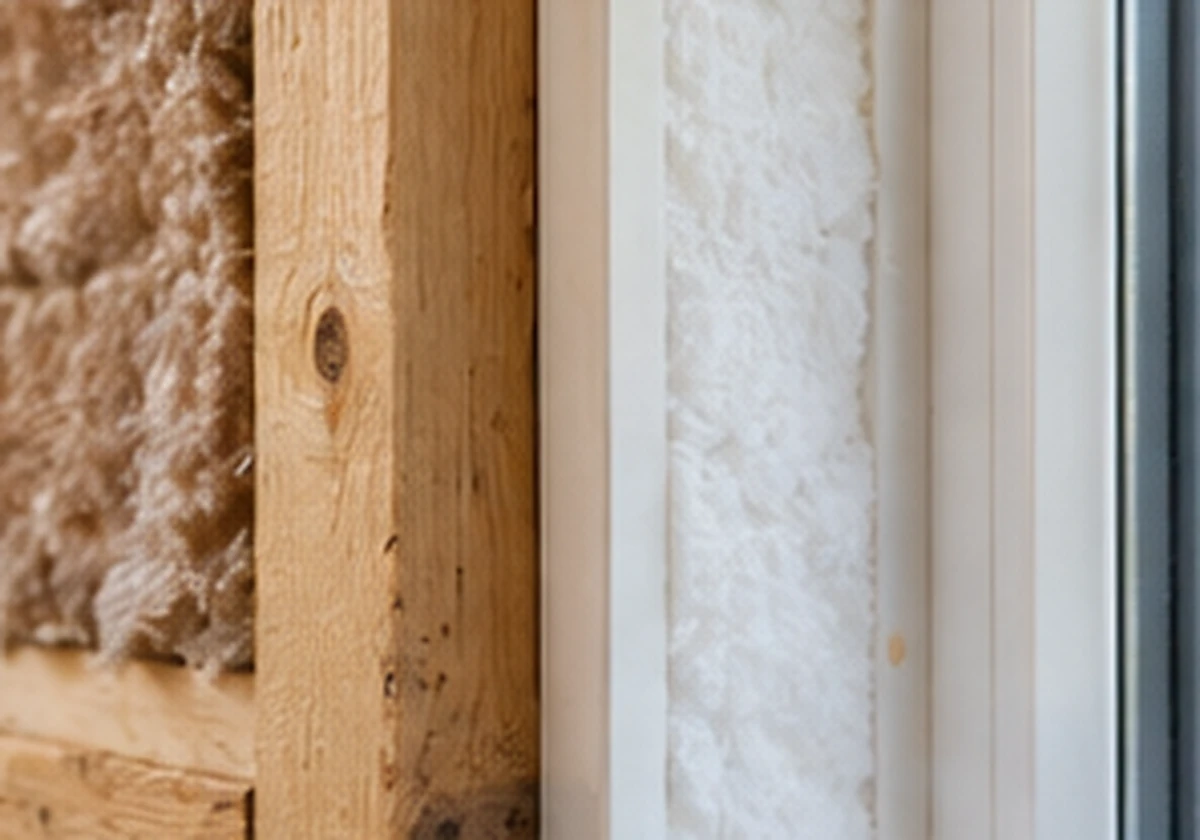
The appropriate wall and roof assembly will vary by climate. The important budget principle is that money spent on a sound, durable envelope is different from money spent on decorative finishes. Flooring or countertops can be replaced later; repairing a wall assembly after years of moisture intrusion is a much more significant undertaking.
A tight building also needs intentional ventilation. EPA Indoor airPLUS requirements include mechanical whole-house ventilation, reflecting the broader building-science principle that reducing uncontrolled air leakage should be accompanied by a deliberate strategy for supplying fresh air and controlling moisture. [5]
Right-size the heating and cooling system
Tiny homes need small heating and cooling systems, but "small" is not a sizing calculation. The correct load depends on climate, insulation, airtightness, windows, orientation, occupancy and the characteristics of the building itself.
ACCA's Manual J standard is used for residential heating and cooling load calculations in the United States, and comparable local design requirements apply elsewhere. The important principle for a budget tiny home is to calculate the load rather than choosing equipment using a generic number of BTUs per square foot. [6]
A ductless mini-split heat pump can be a particularly good match for compact, high-performance homes because it avoids a large duct system and is available in relatively small capacities. DOE research has demonstrated this approach in compact, highly insulated housing, but the equipment still needs to be matched to the actual heating and cooling demand. [7]
A tiny house is not automatically cheap
Tiny houses reduce the quantity of building, but many construction costs do not shrink in proportion to floor area. A 250-square-foot house still needs a kitchen, bathroom, hot-water system, electrical system, windows, doors, HVAC, ventilation, permits and some form of foundation or chassis.
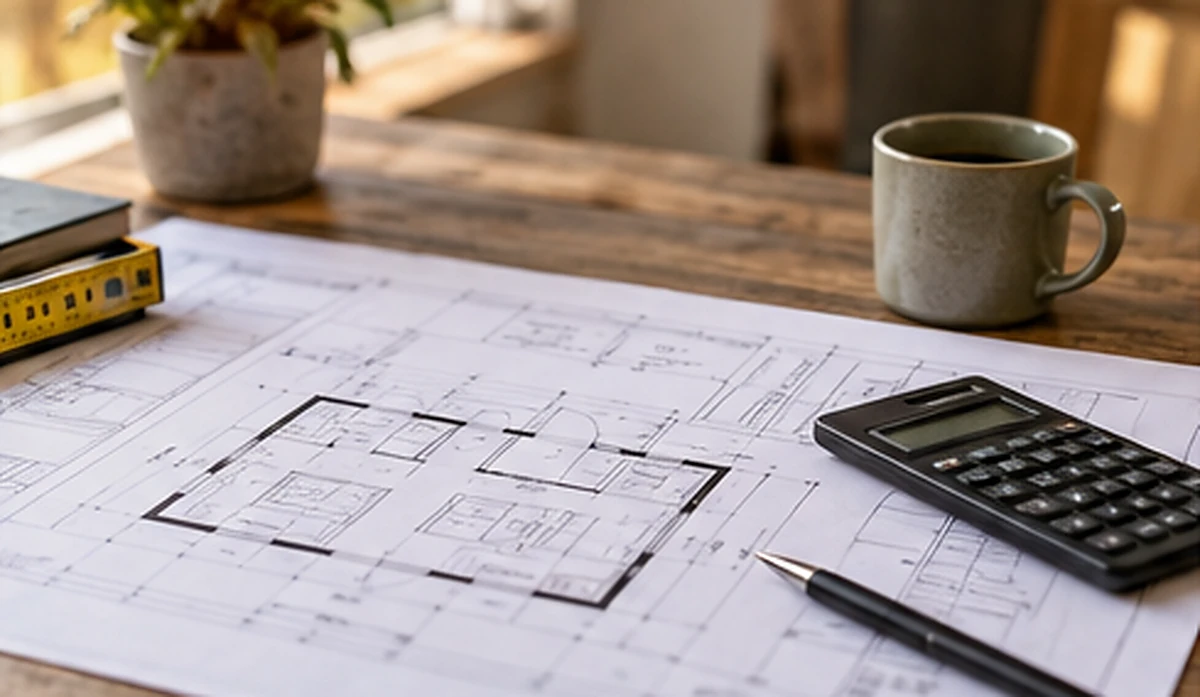
Site costs are especially important. Water, sewage, electrical service, foundations, access and site preparation can represent substantial expenses that have little relationship to the number of square feet inside the house. Ontario's tiny-home guidance, for example, specifically cautions that extending electrical distribution to a remote property can be costly and recommends investigating water, sewage and utility servicing before committing to a site. [8]
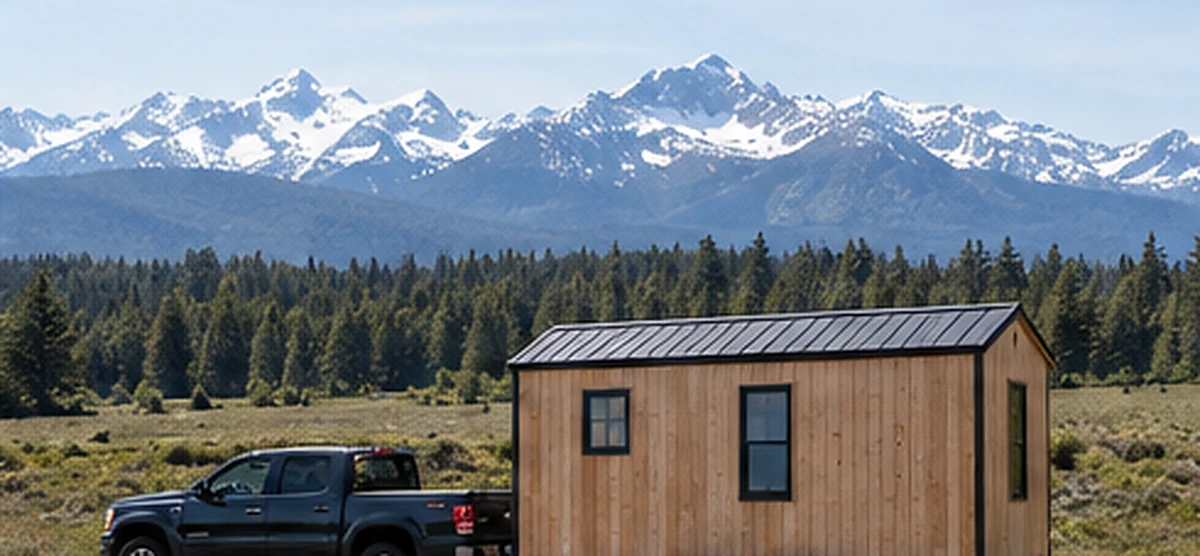
That is one reason broad claims such as "tiny homes cost $150 per square foot" are rarely useful on their own. Two identical houses can have dramatically different total project costs if one sits behind an existing serviced home and the other requires a new well, septic system, long driveway and electrical extension.
A better budget separates the project into meaningful categories.
Budget category | What belongs in it |
|---|---|
Site or mobility | Site preparation, trailer or foundation, delivery and access |
Structure | Floor, walls, roof and structural design |
Envelope | Sheathing, roofing, siding, insulation and air/water control |
Windows and doors | Exterior doors, windows and skylights |
Mechanical systems | Plumbing, electrical, hot water, HVAC and ventilation |
Interior | Kitchen, bathroom, flooring, wall finishes, cabinetry and trim |
Project costs | Design, permits, inspections and professional labour |
Contingency | Unknown conditions, errors, revisions and price changes |
Thinking this way also makes comparisons more useful. A DIY materials budget should not be compared directly with the price of a finished turnkey tiny home, just as a prefab shell that excludes site work should not be compared with a complete project that includes foundation and utilities.
Where DIY can save money, and where it can become a false economy
Labour is one of the largest variables in any building project, so doing some work yourself can meaningfully reduce the budget. Painting, flooring, basic interior finishing and some cabinetry are obvious opportunities for an owner who has the time and skills to complete them well.
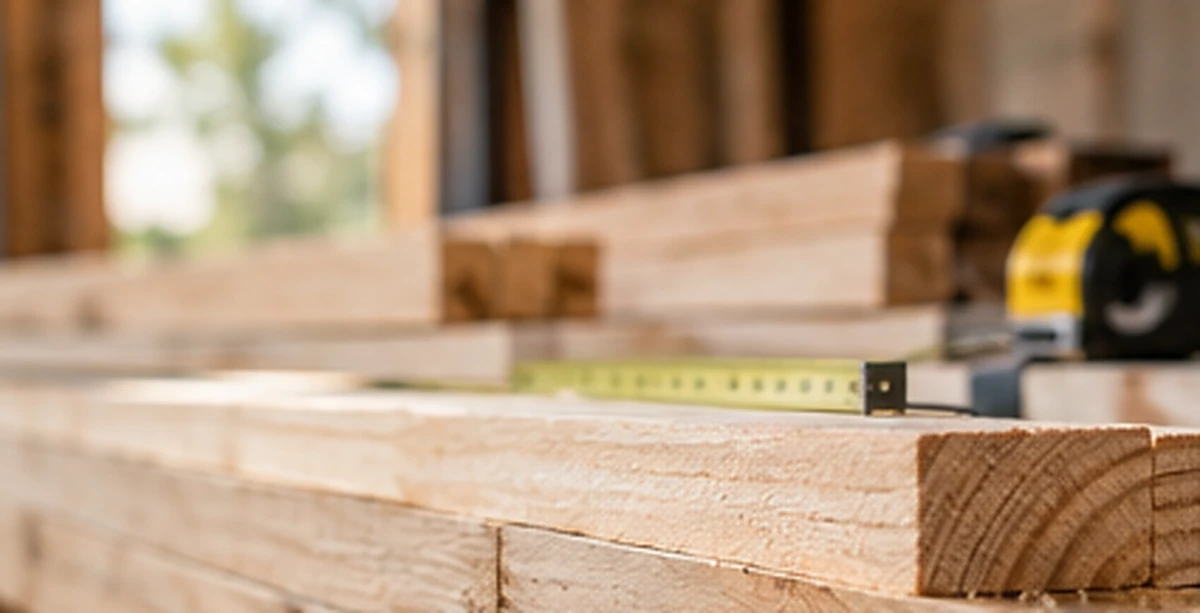
The calculation changes when mistakes become difficult to repair or present safety concerns. Structural work, roofing details, water management, electrical systems, gas equipment and some plumbing work may require professional design, permits, licensed trades or inspections depending on the jurisdiction. Ontario's tiny-home guide is one example: it requires building permits for tiny homes and separate electrical permitting and inspection requirements for electrical work. [9]
A budget build therefore should not be defined by doing everything yourself. A better goal is to use professional labour where the consequences of getting something wrong are high, while reserving owner labour for work where learning slowly does not put the building or its occupants at risk.
Which budget tiny-home design should you choose?
The simple lofted rectangle is the strongest starting point when the goal is a compact shell, particularly for a tiny home on wheels. Its biggest advantage is that it provides additional sleeping area without increasing the footprint, provided the loft and access remain uncomplicated.
The single-level studio is more attractive when stairs and lofts are undesirable. It accepts a slightly larger main-floor footprint in exchange for a very simple interior and easier long-term usability.
The compact square cabin is worth considering for a permanent foundation because its shape reduces exterior perimeter for a given amount of floor area. That mathematical advantage has to be balanced against wider structural spans and the challenge of bringing daylight into a deeper plan.
The shared-service-core home makes sense for almost every tiny-house format. Even if none of the other five concepts is used exactly as shown, keeping the kitchen, bathroom, hot water and mechanical equipment close together is a design principle worth carrying into the final plan.
The transformer studio is most useful when the occupants are genuinely comfortable allowing one room to perform several jobs. The savings come from removing square footage rather than filling the house with complicated custom furniture.
Finally, the expandable starter home is primarily a strategy for controlling how much money has to be spent today. It may not create the lowest eventual construction cost, but thoughtful planning can make it possible to start with less house without closing off the option of adding space later.
Frequently asked questions
What is the cheapest shape for a tiny house?
Simple rectangles and near-square plans are generally good places to start because they avoid unnecessary corners and roof intersections. For a fixed floor area, moving toward a square reduces exterior perimeter, but structural spans, roof design and room layout also affect the final cost, so the mathematically most compact shape is not automatically the least expensive complete building.
Is a loft cheaper than a main-floor bedroom?
A loft can reduce cost if it allows the total building footprint to shrink. The tradeoff is that the loft requires structure, safe access, guards and sufficient headroom, and local rules may impose additional requirements. A complicated loft with dormers and a custom staircase can easily give back much of the saving it was intended to create. [1]
Is a shed roof cheaper than a gable roof?
Not necessarily. A shed roof has a single roof plane and avoids valleys, but it also creates one taller exterior wall and still has to meet structural, drainage, wind and snow requirements. A simple gable roof can be equally rational, so the better question is which uncomplicated roof form works best with the rest of the design.
Should the kitchen and bathroom be beside each other?
For a budget-oriented design, there is a strong argument for keeping them close. EPA WaterSense recommends centralized hot-water layouts in smaller homes because shorter, more direct plumbing routes can use less material, take less time to install and reduce hot-water waste. [3]
How big should the HVAC system be in a tiny home?
There is no reliable answer based on floor area alone. Heating and cooling loads depend on climate, insulation, airtightness, glazing, orientation and other factors, so equipment should be selected from a proper load calculation rather than a rule of thumb. [6]
Build less, but build it deliberately
A low-budget tiny house should not be a conventional house squeezed into fewer square feet. The biggest savings come from questioning how much building is actually necessary and then designing the structure, layout and mechanical systems around that answer.
A straightforward shell costs less to complicate. A well-planned open room can replace several smaller ones. A compact plumbing core can remove unnecessary pipe. A good envelope can reduce the load on the HVAC system. Standard dimensions can reduce waste, while careful window placement can provide the light and views that make a small house pleasant without turning every wall into expensive glazing.
The goal is not to build the cheapest tiny house possible. It is to make sure that the money being spent is buying something useful: space that gets used, systems that work efficiently and building components that make the home more durable and comfortable.
That is ultimately what designing a tiny home on a budget should mean.
Sources
Building Code requirements, Government of Ontario, Build or Buy a Tiny Home
Advanced Framing: Minimum Wall Studs, U.S. Department of Energy Building America Solution Center (PNNL)
WaterSense Labeled Homes: Hot Water, U.S. Environmental Protection Agency
Purchasing Energy-Efficient Residential Windows, Doors, and Skylights, U.S. Department of Energy
Indoor airPLUS Certified Homes and Apartments: Quality Assurance Checklists, Version 2 (PDF), U.S. Environmental Protection Agency
ACCA Standards Process: ANSI-Approved Technical Standards, Air Conditioning Contractors of America (ACCA)
Integrated Design: A High-Performance Solution for Affordable Housing, U.S. Department of Energy
Municipal Rules and Requirements, Government of Ontario, Build or Buy a Tiny Home
Building Code, Permits and Inspections, Government of Ontario, Build or Buy a Tiny Home
Comments (0)
No comments yet. Be the first to share your thoughts.